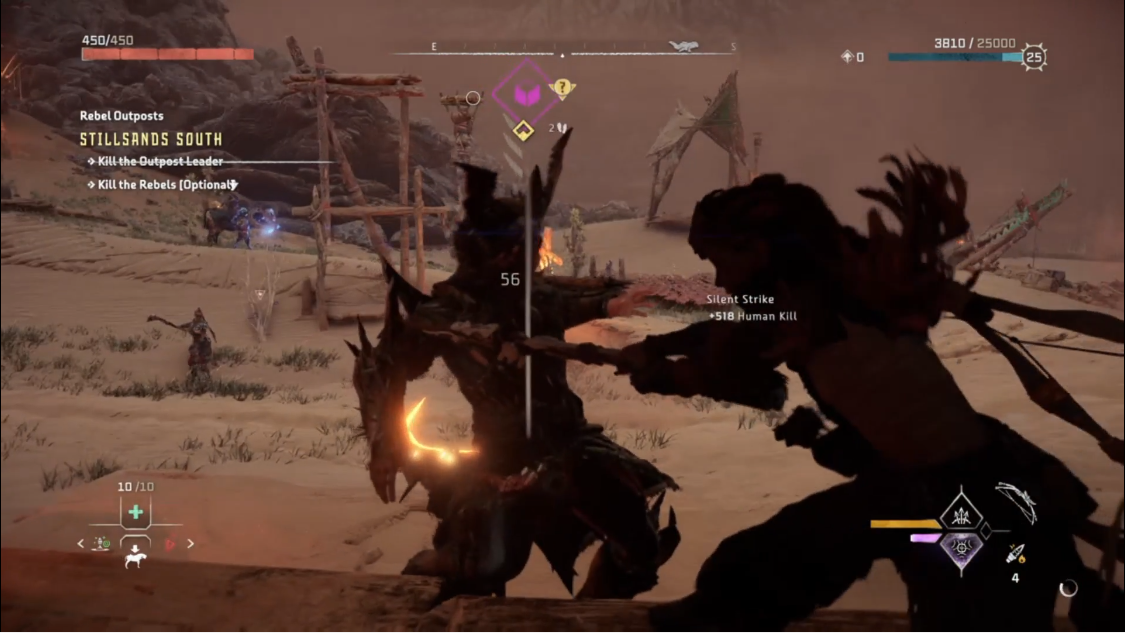
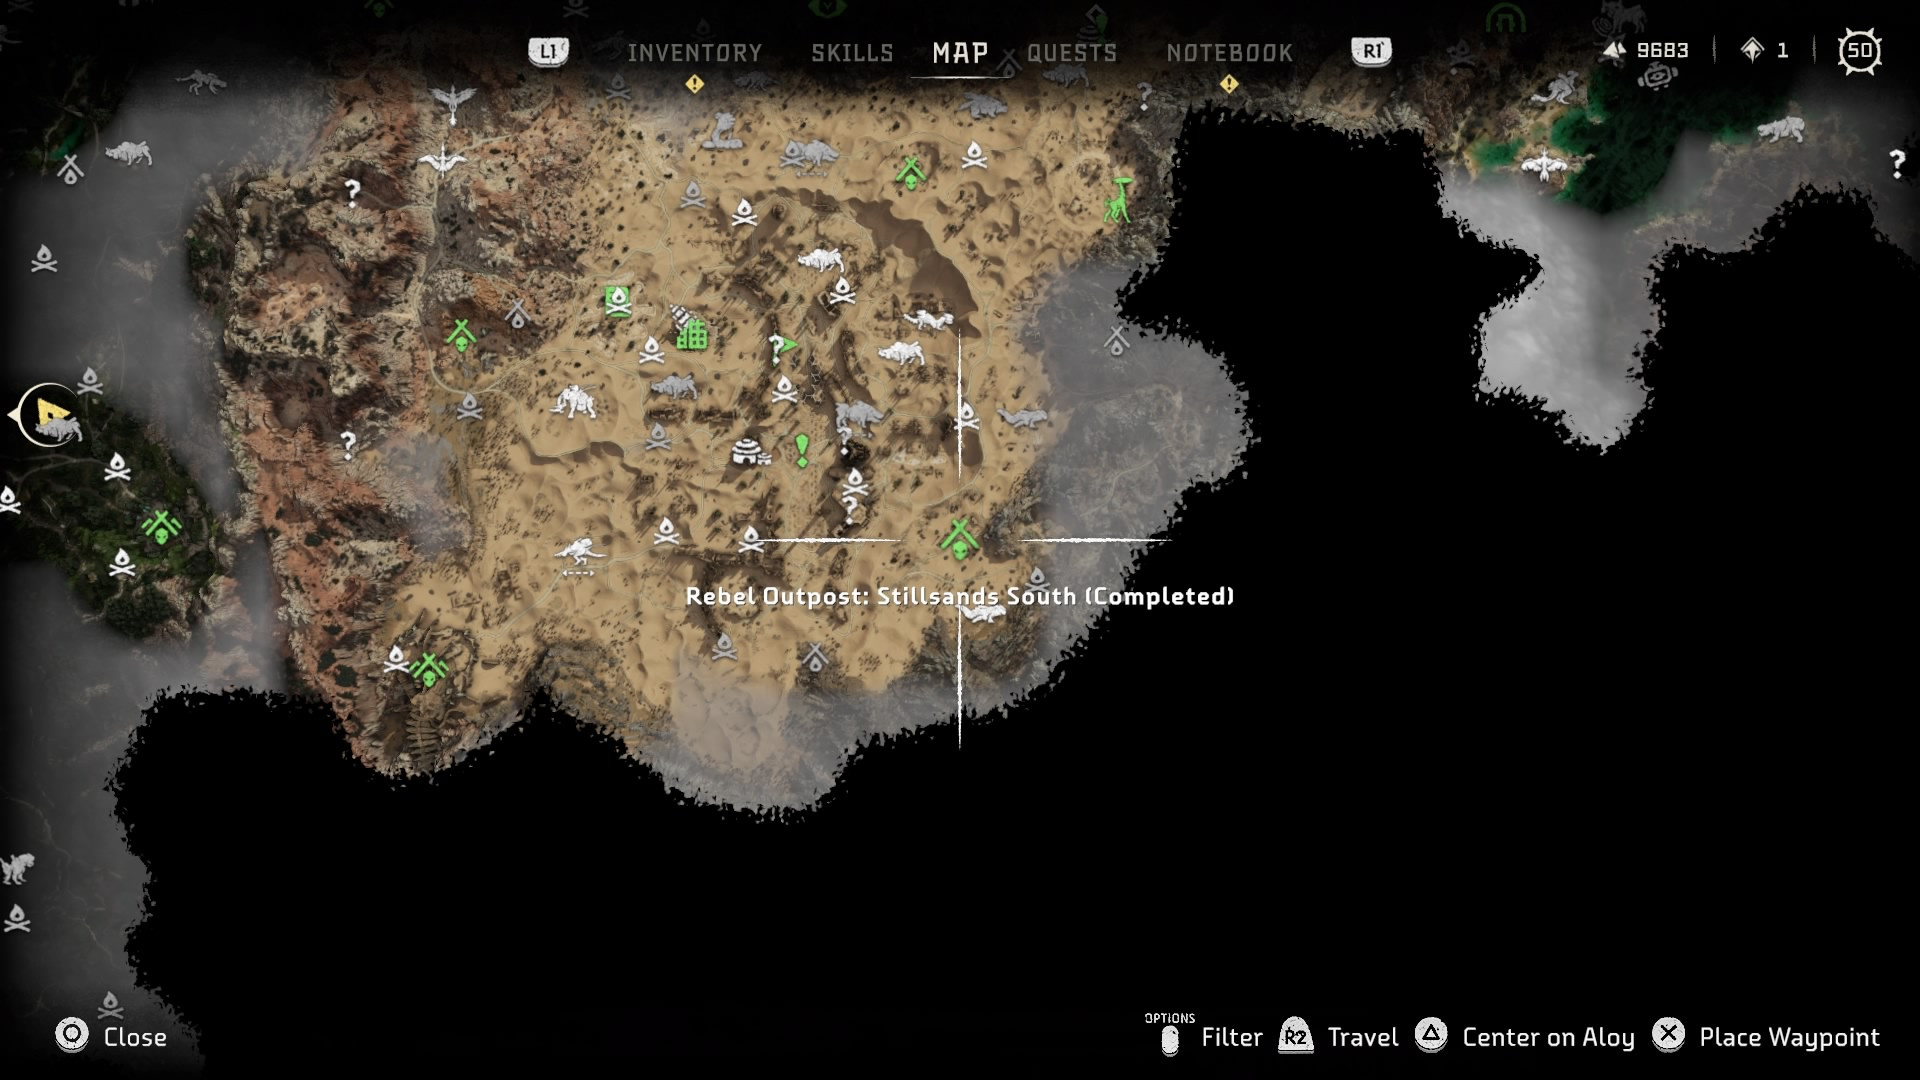
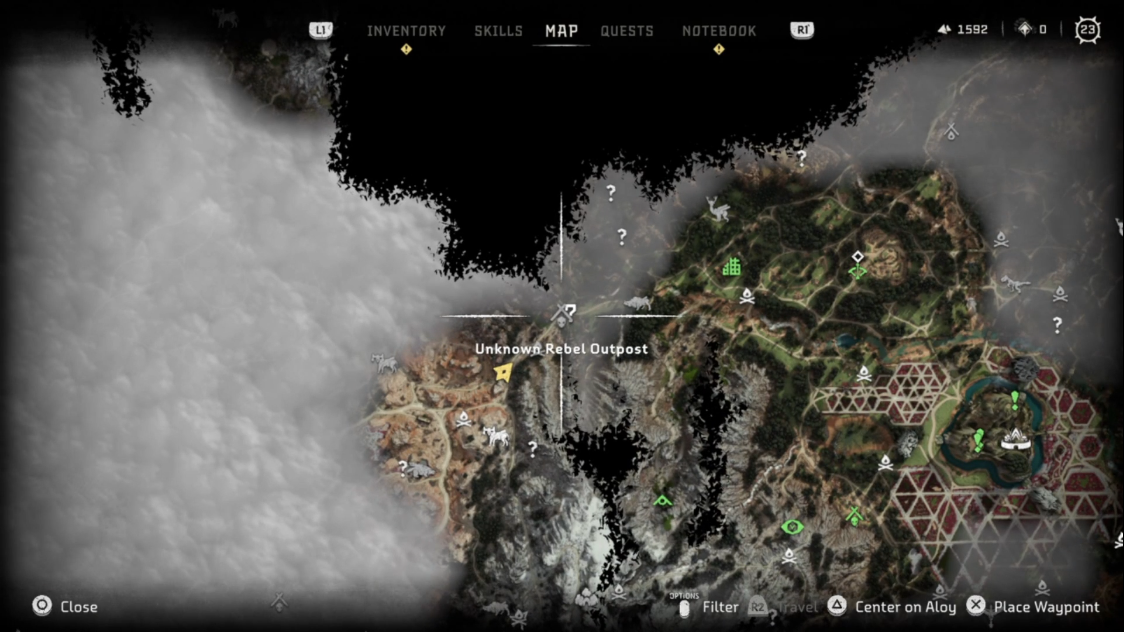
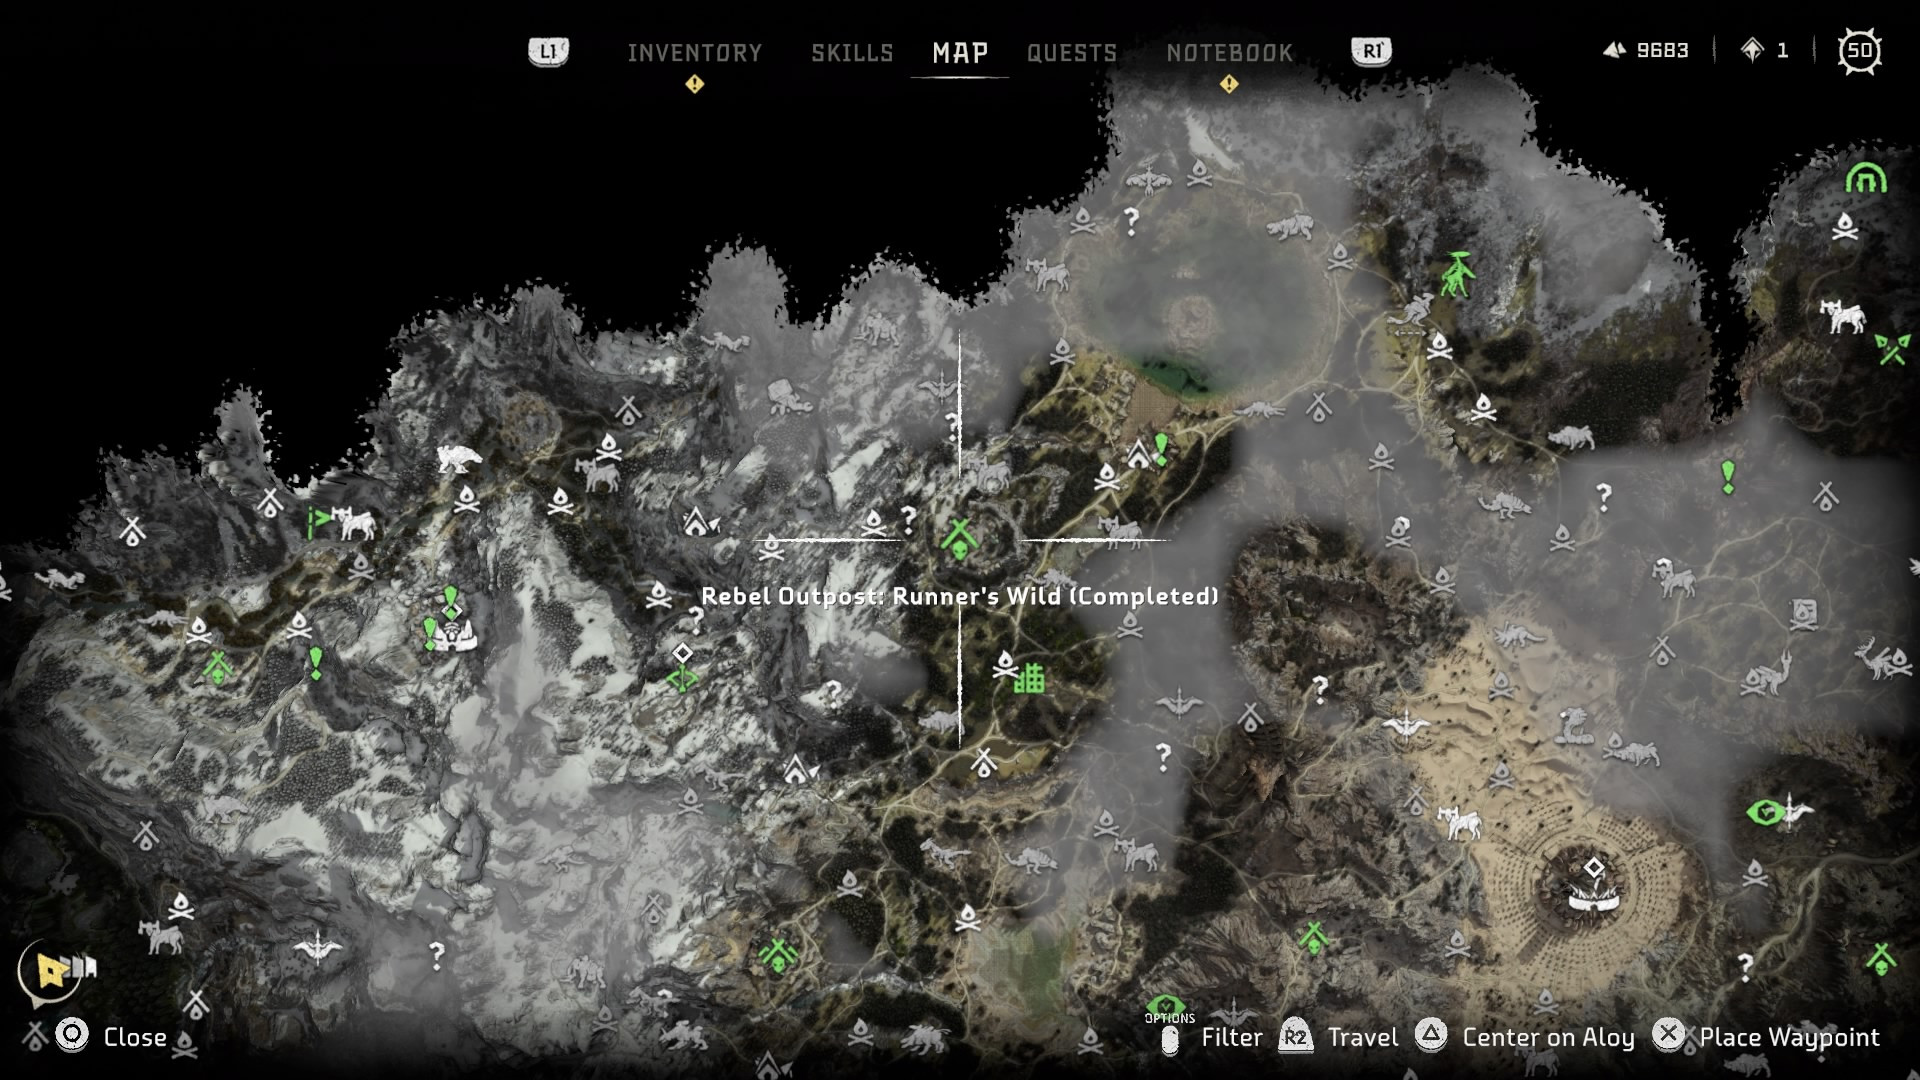
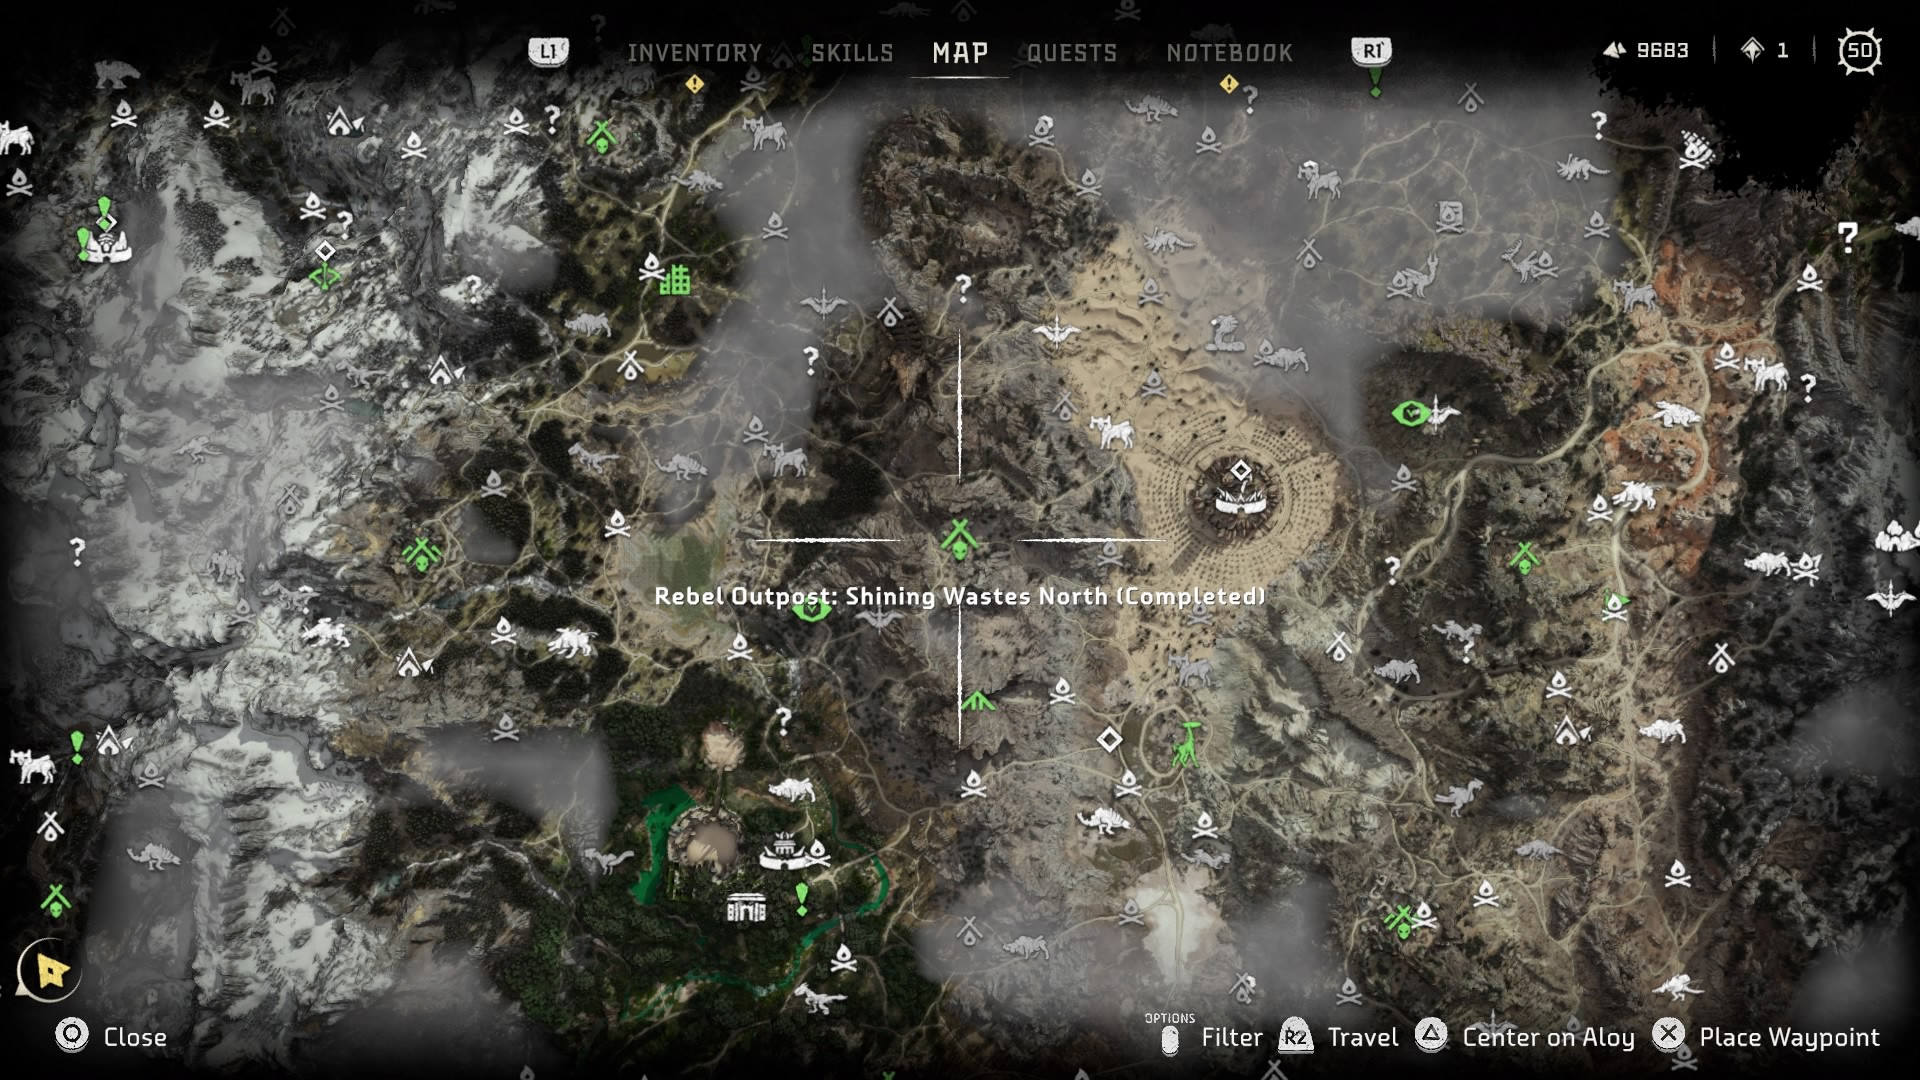
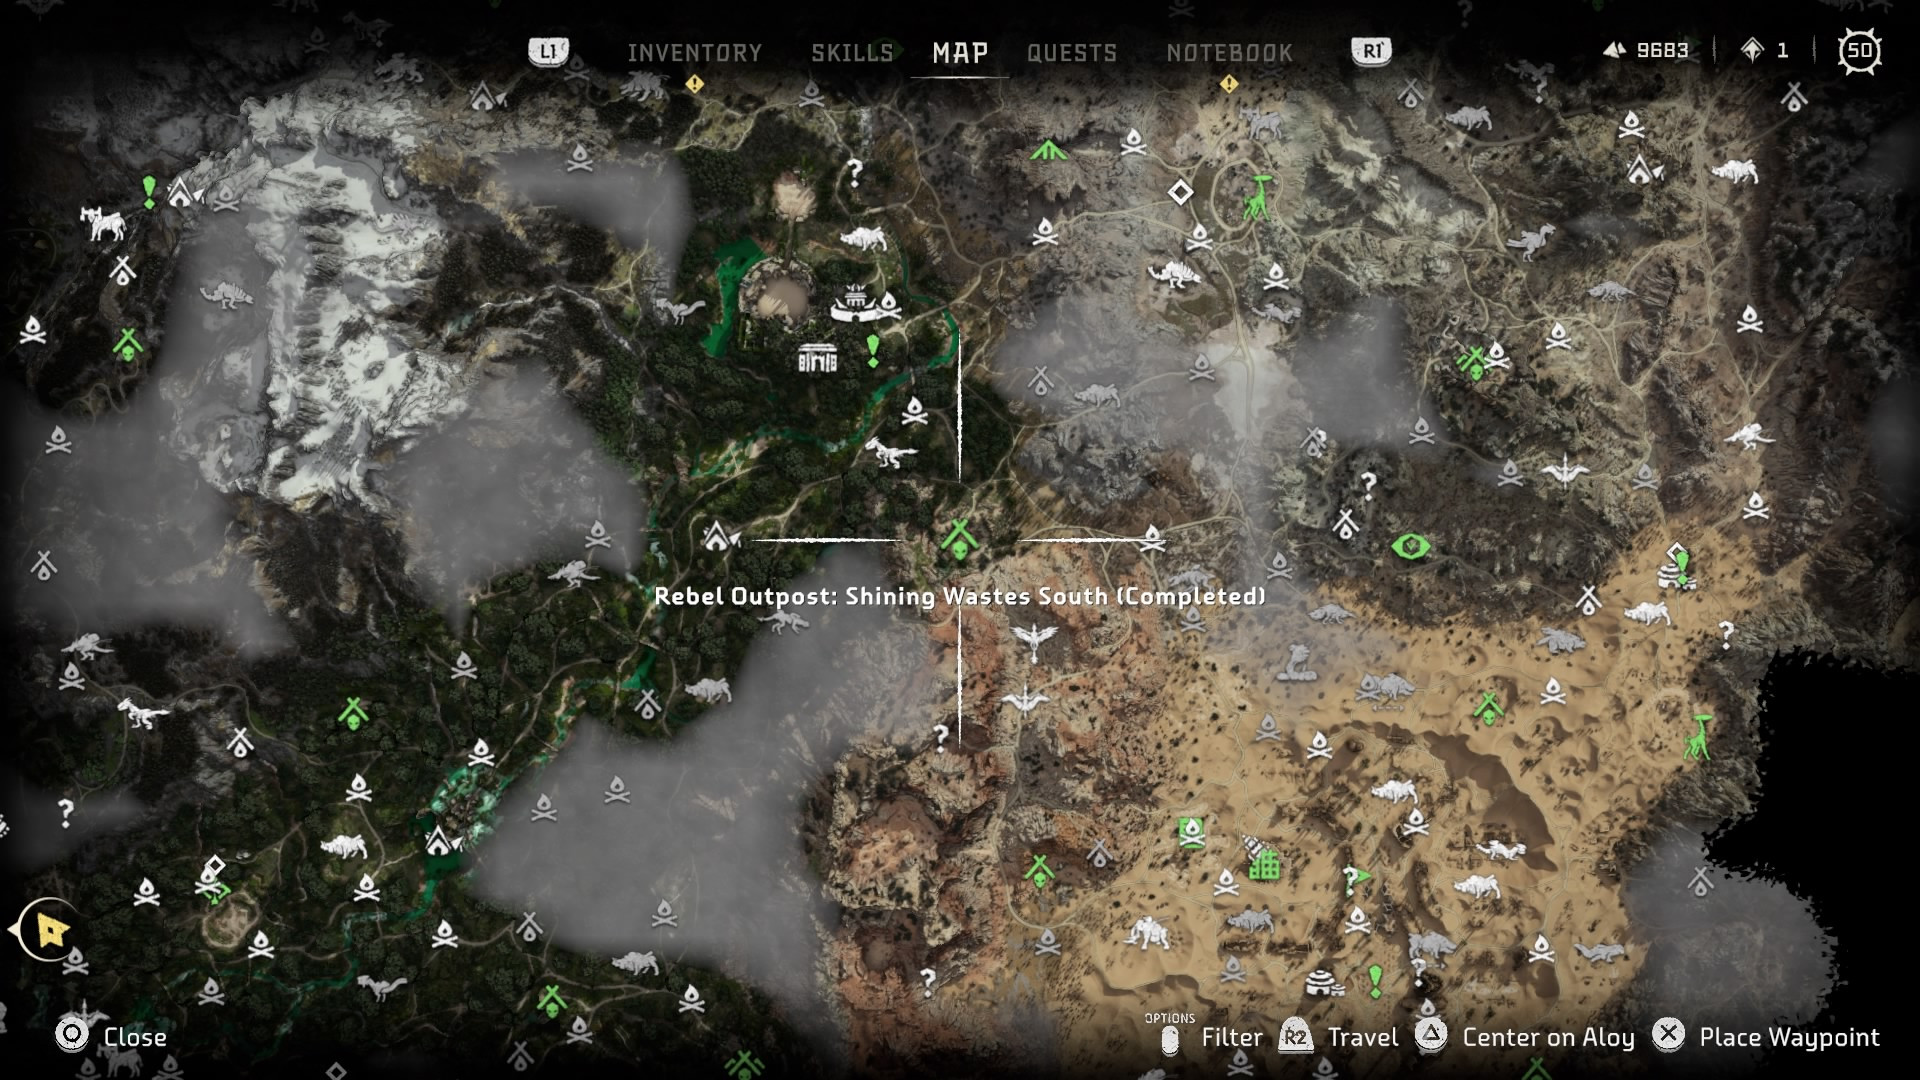
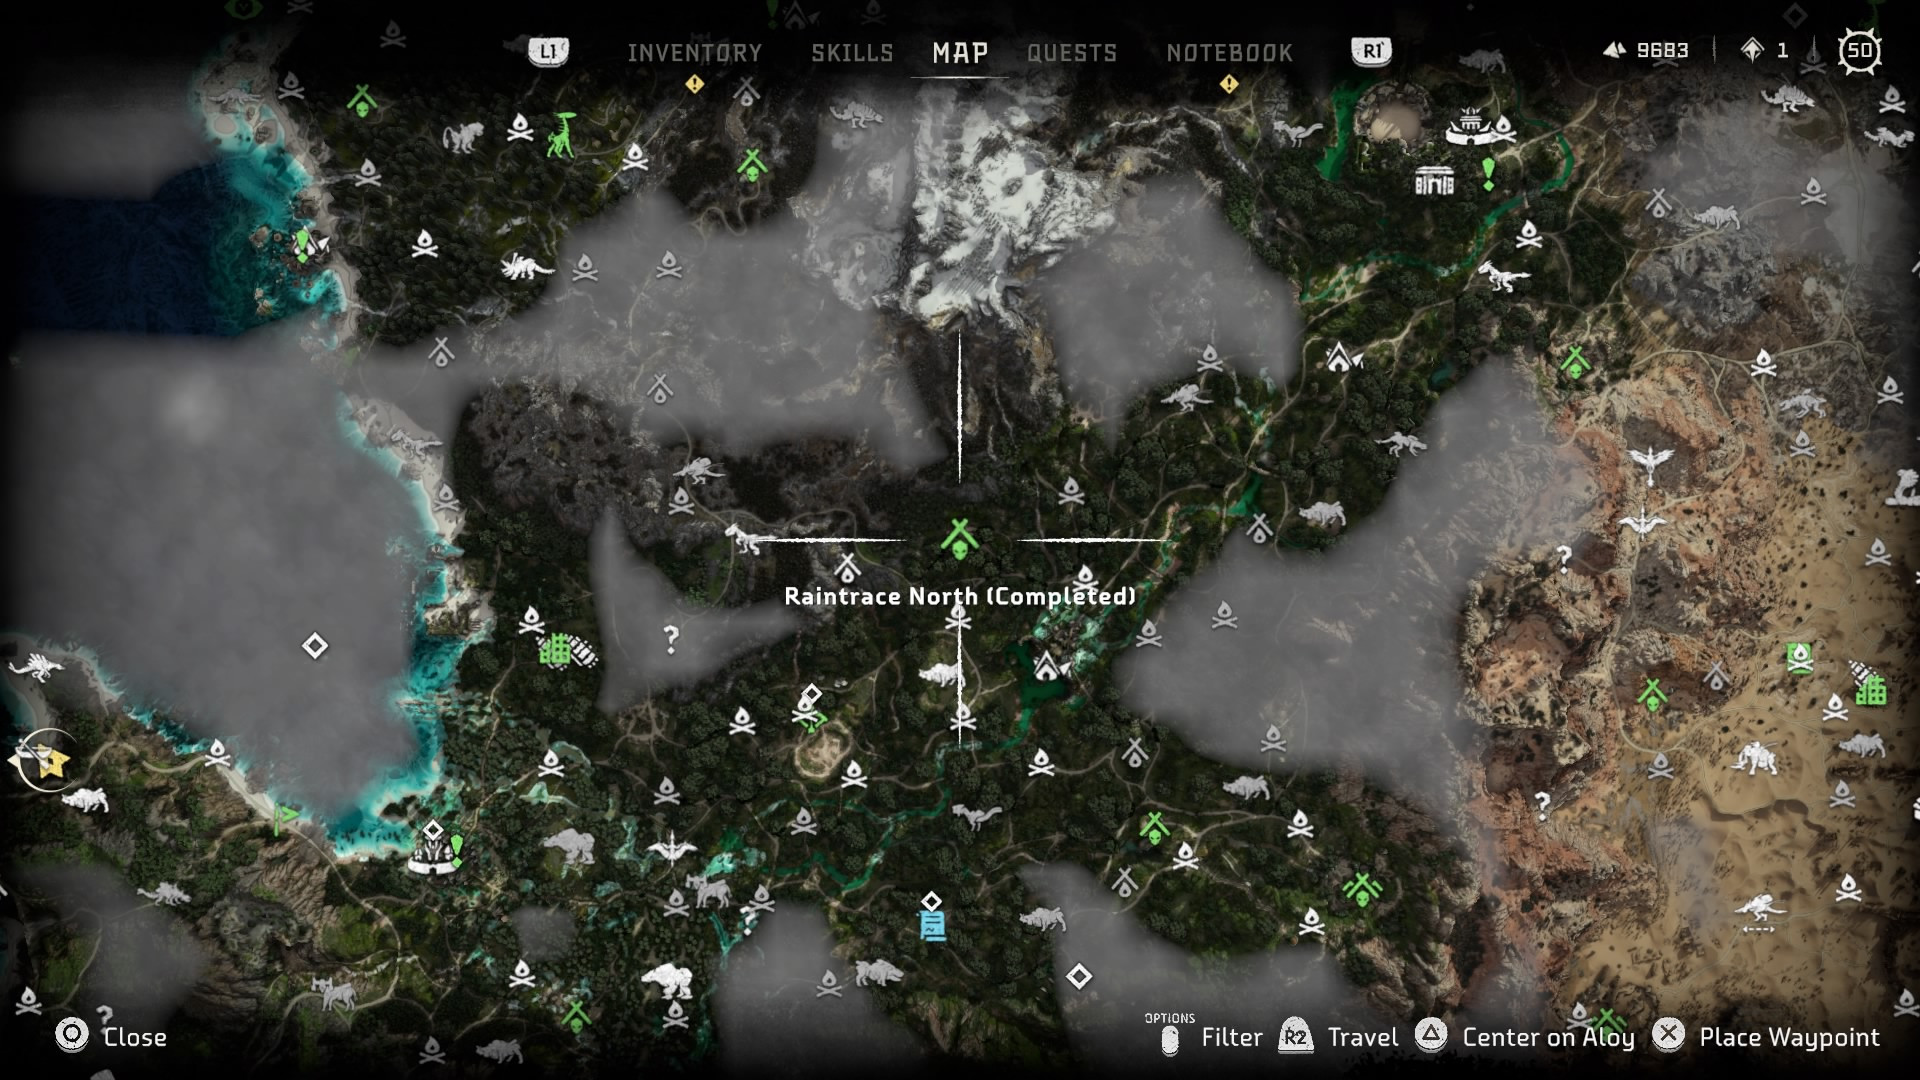
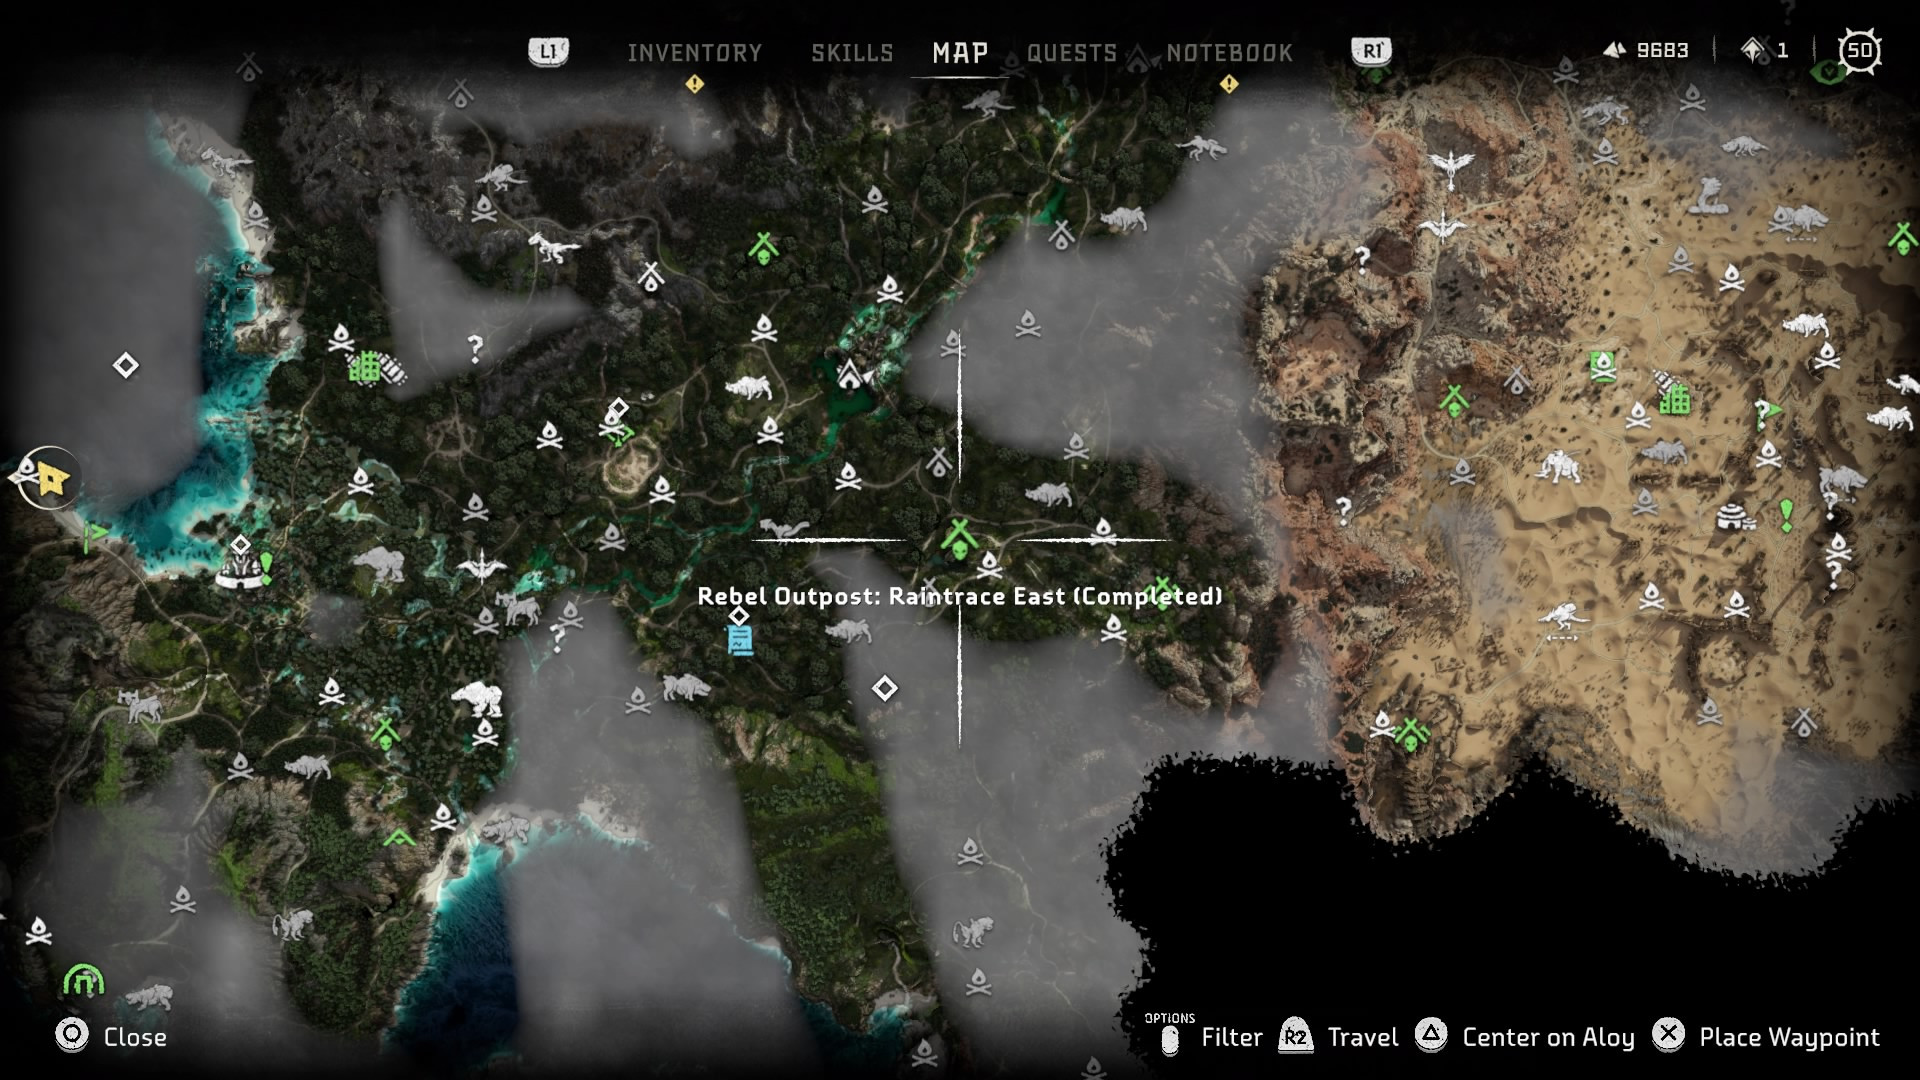
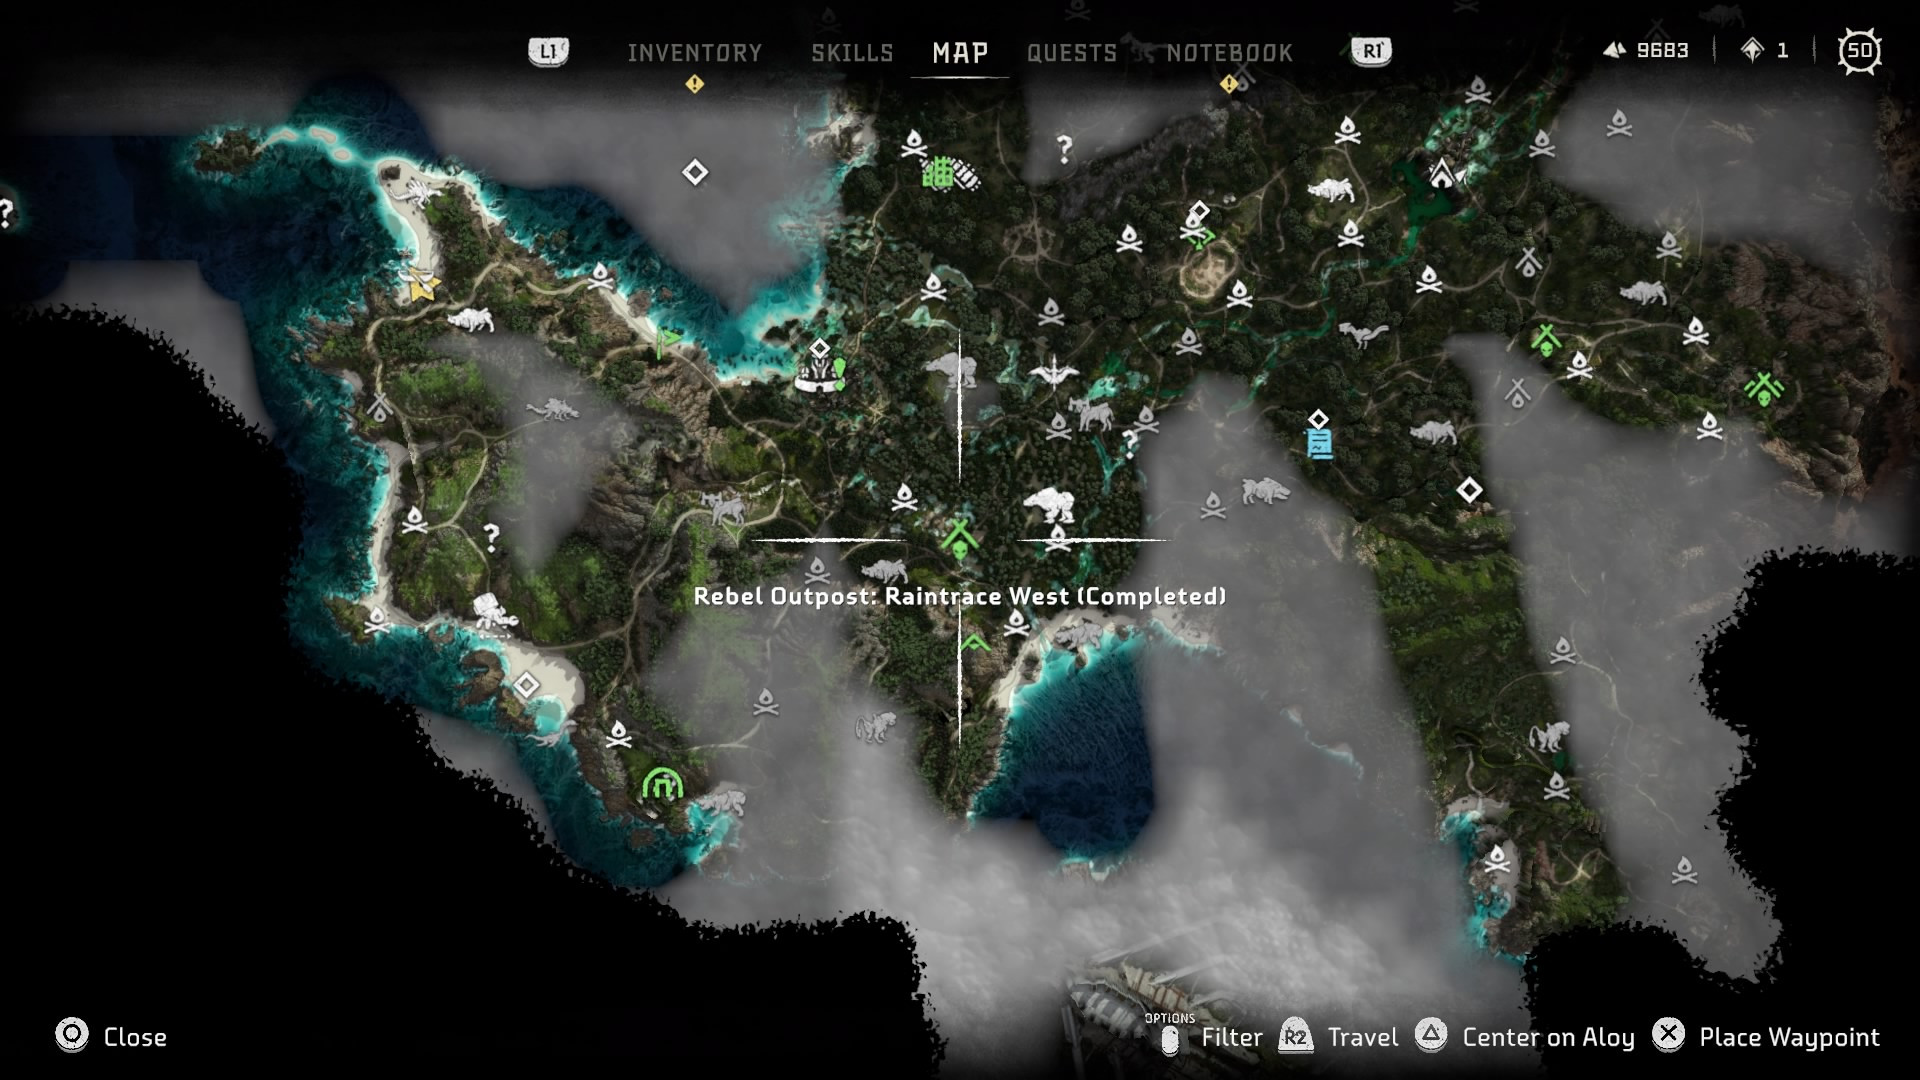
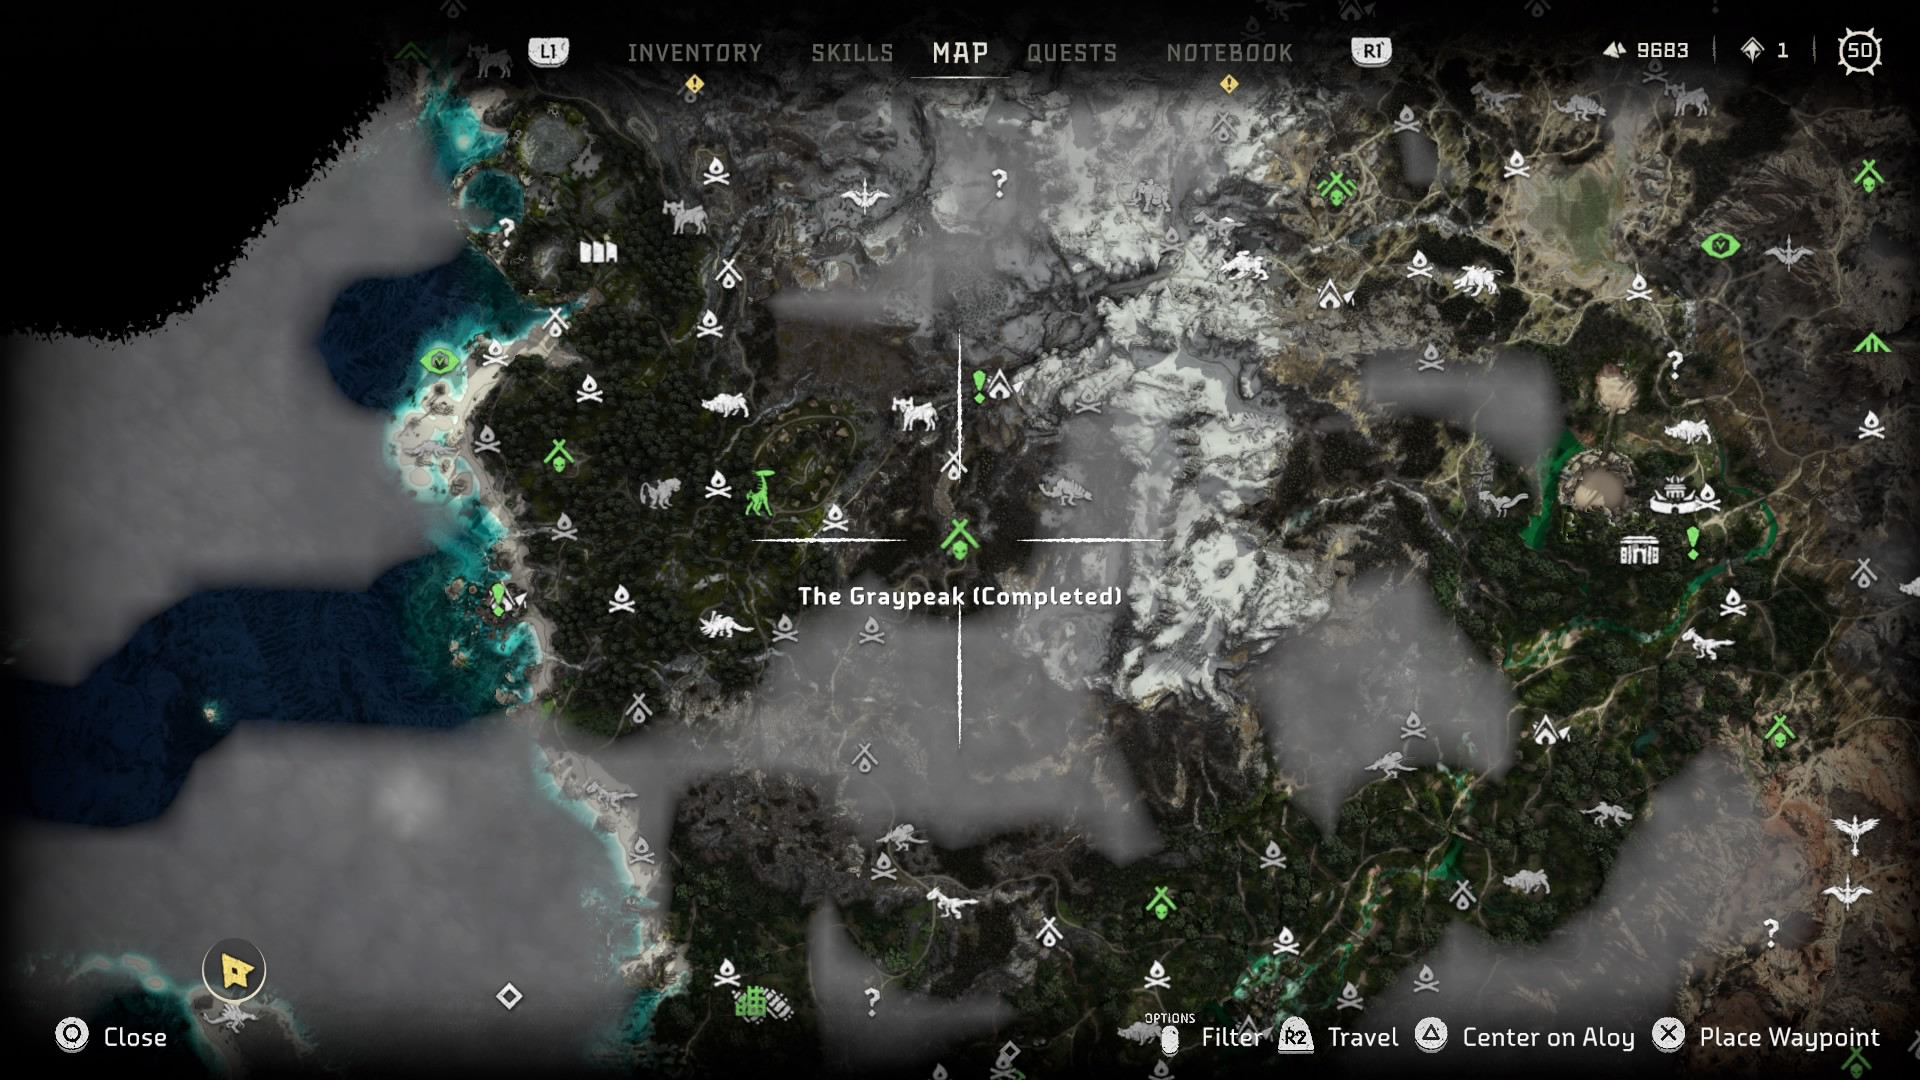
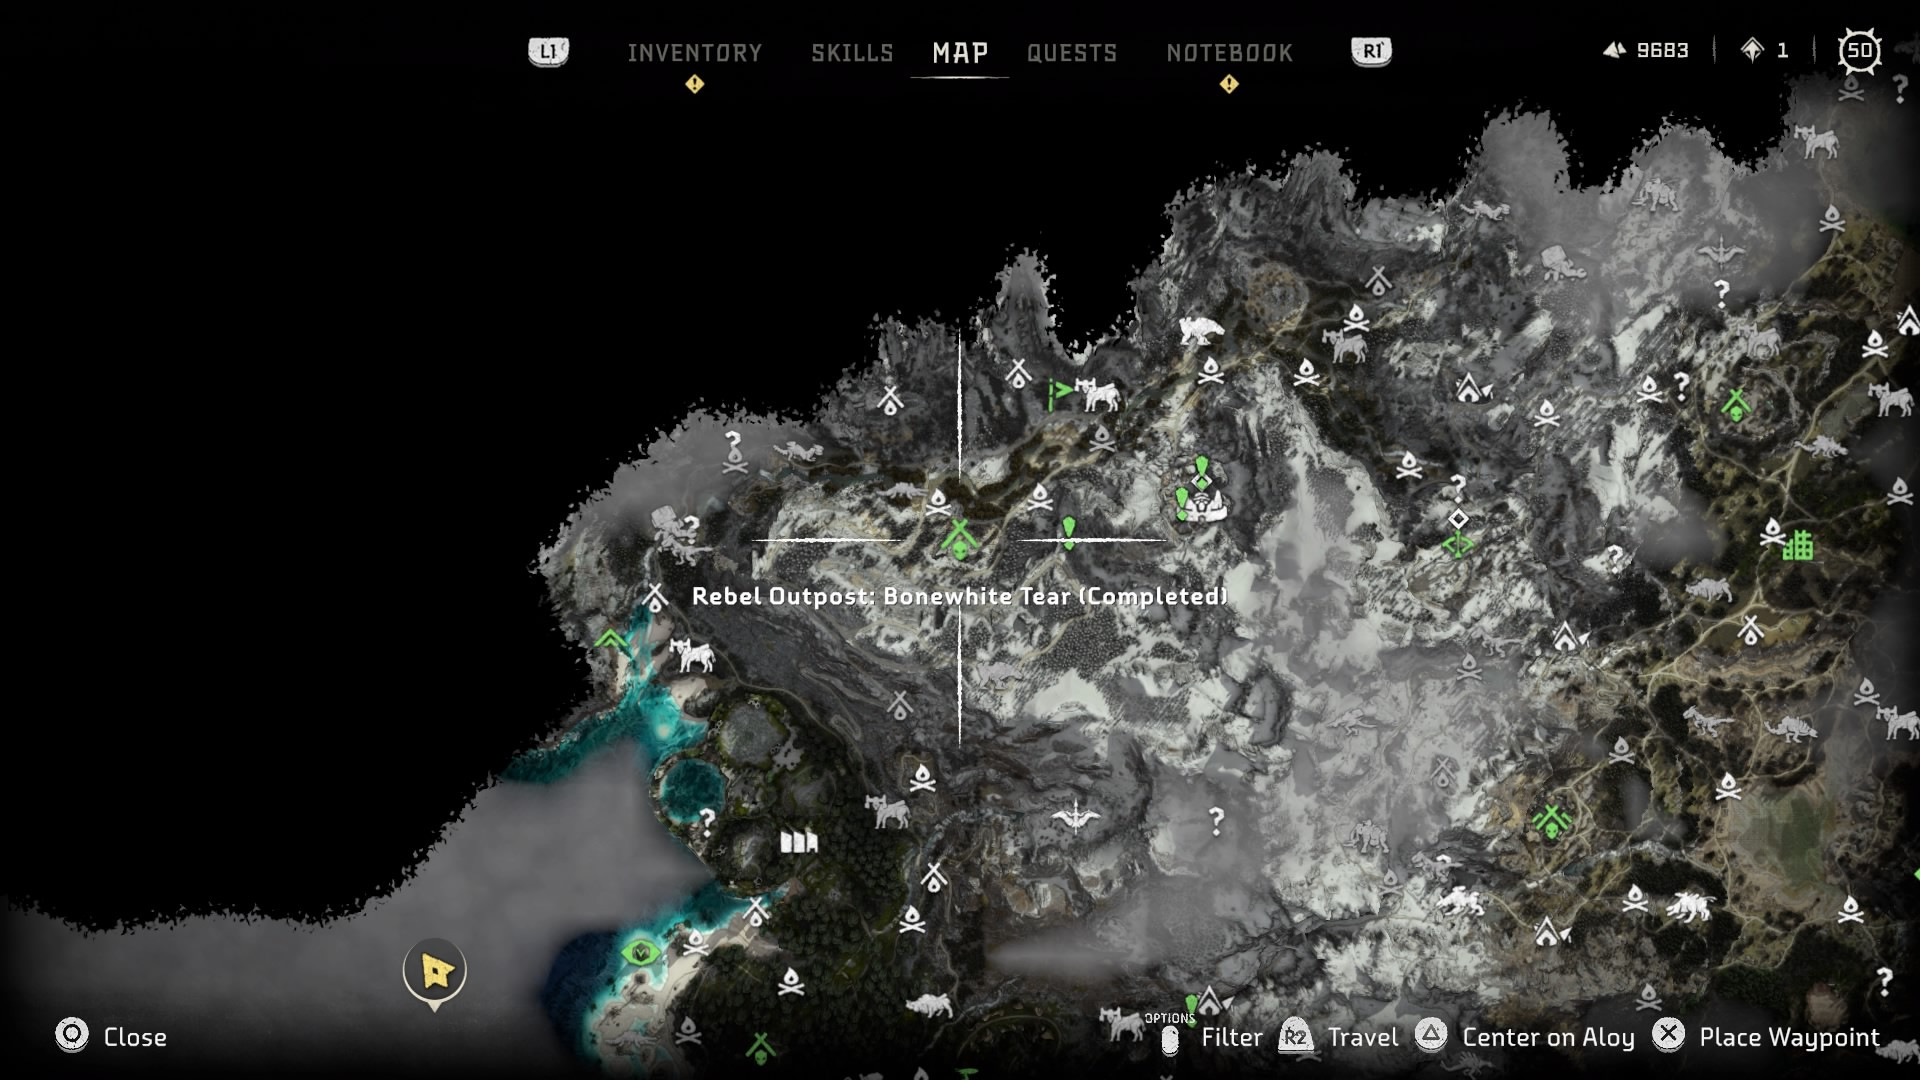
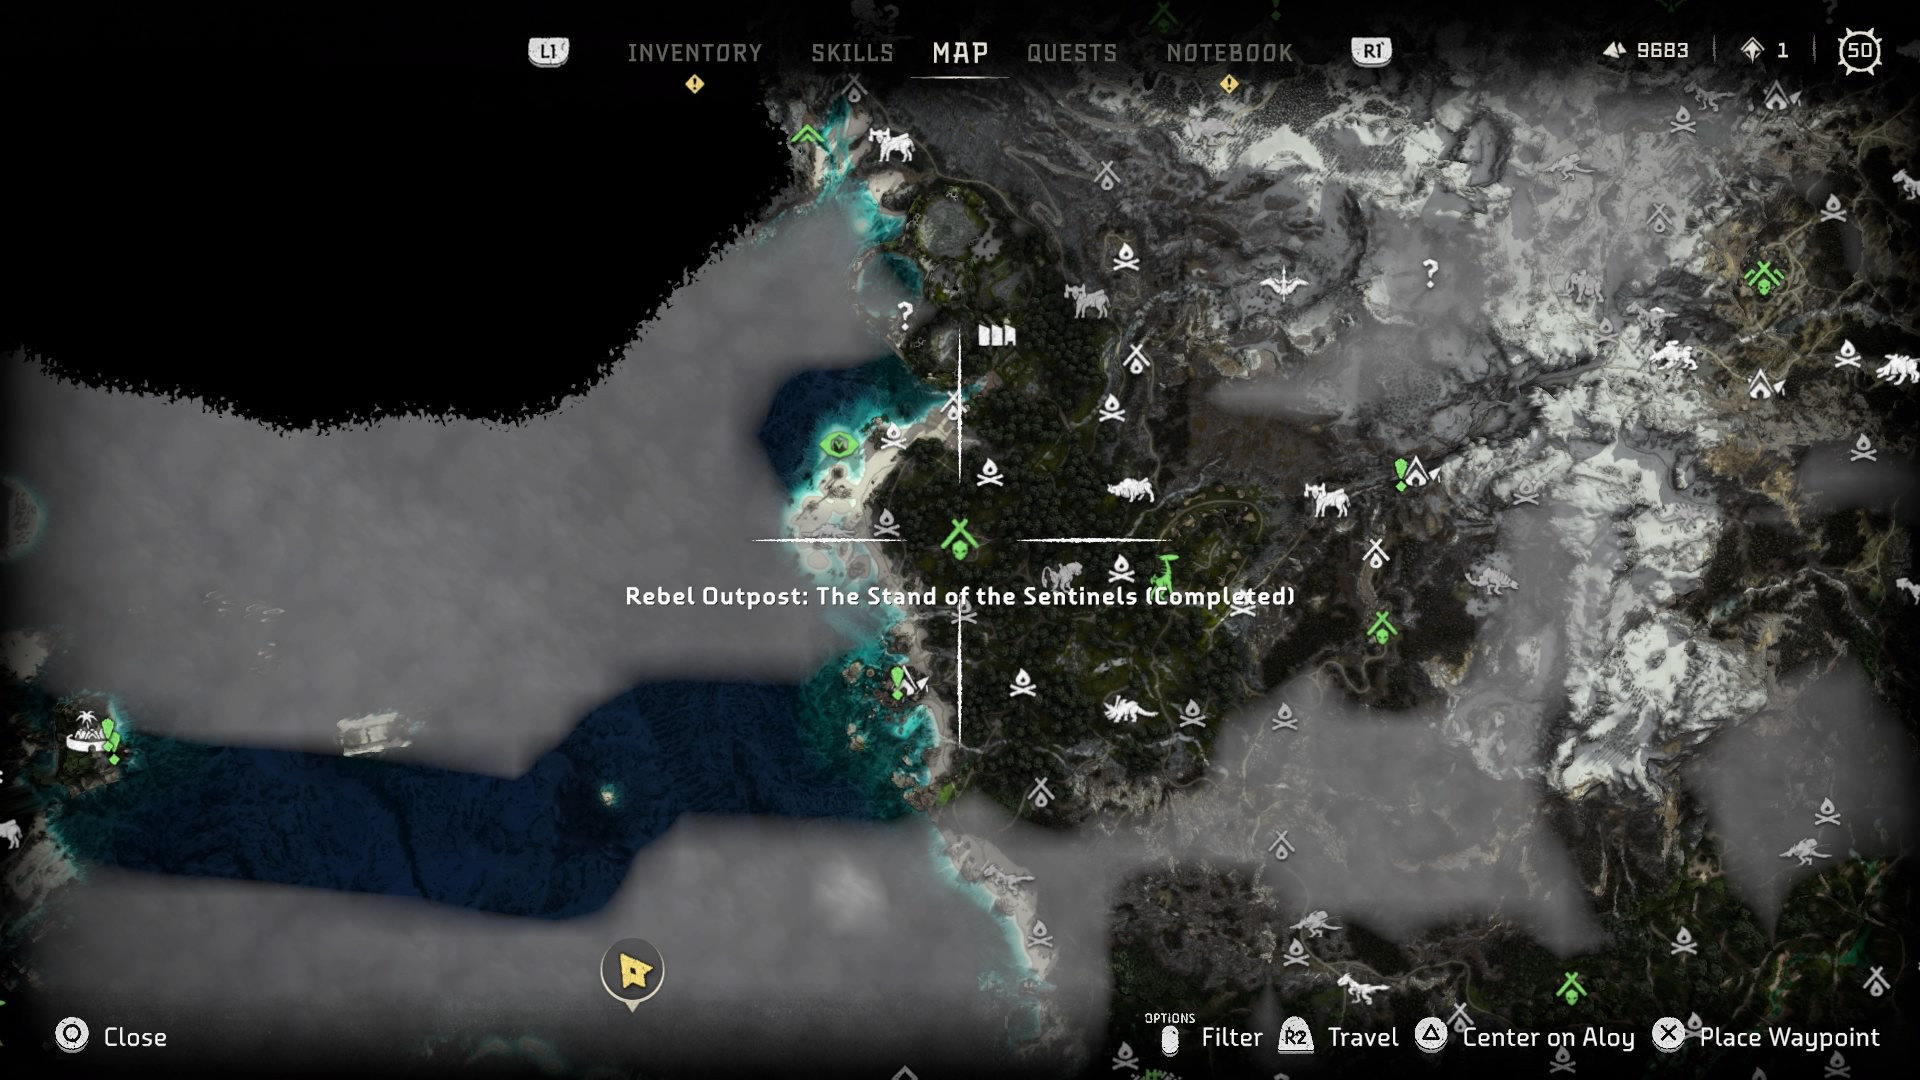
| Rebel Outposts are small camps, usually with a garrison of between 5-10 rebels, including 1 leader and 1-2 mounted machine patrollers around the premises. These are fight sequences, so stock up on ammo and traps.
|
There are a total of
17 Rebel Outposts marked in the map, however only
16 are available as free-roam, being the other one available for completion as part of the side quest "
The Bristlebacks" in
Chainscrape (
side quest needed for  Saved the Daunt
).
Completing a Rebel Outpost
To complete a
Rebel Outpost you must fulfill the objectives of each outpost, which can be:
All 17 Outpost Location & Information
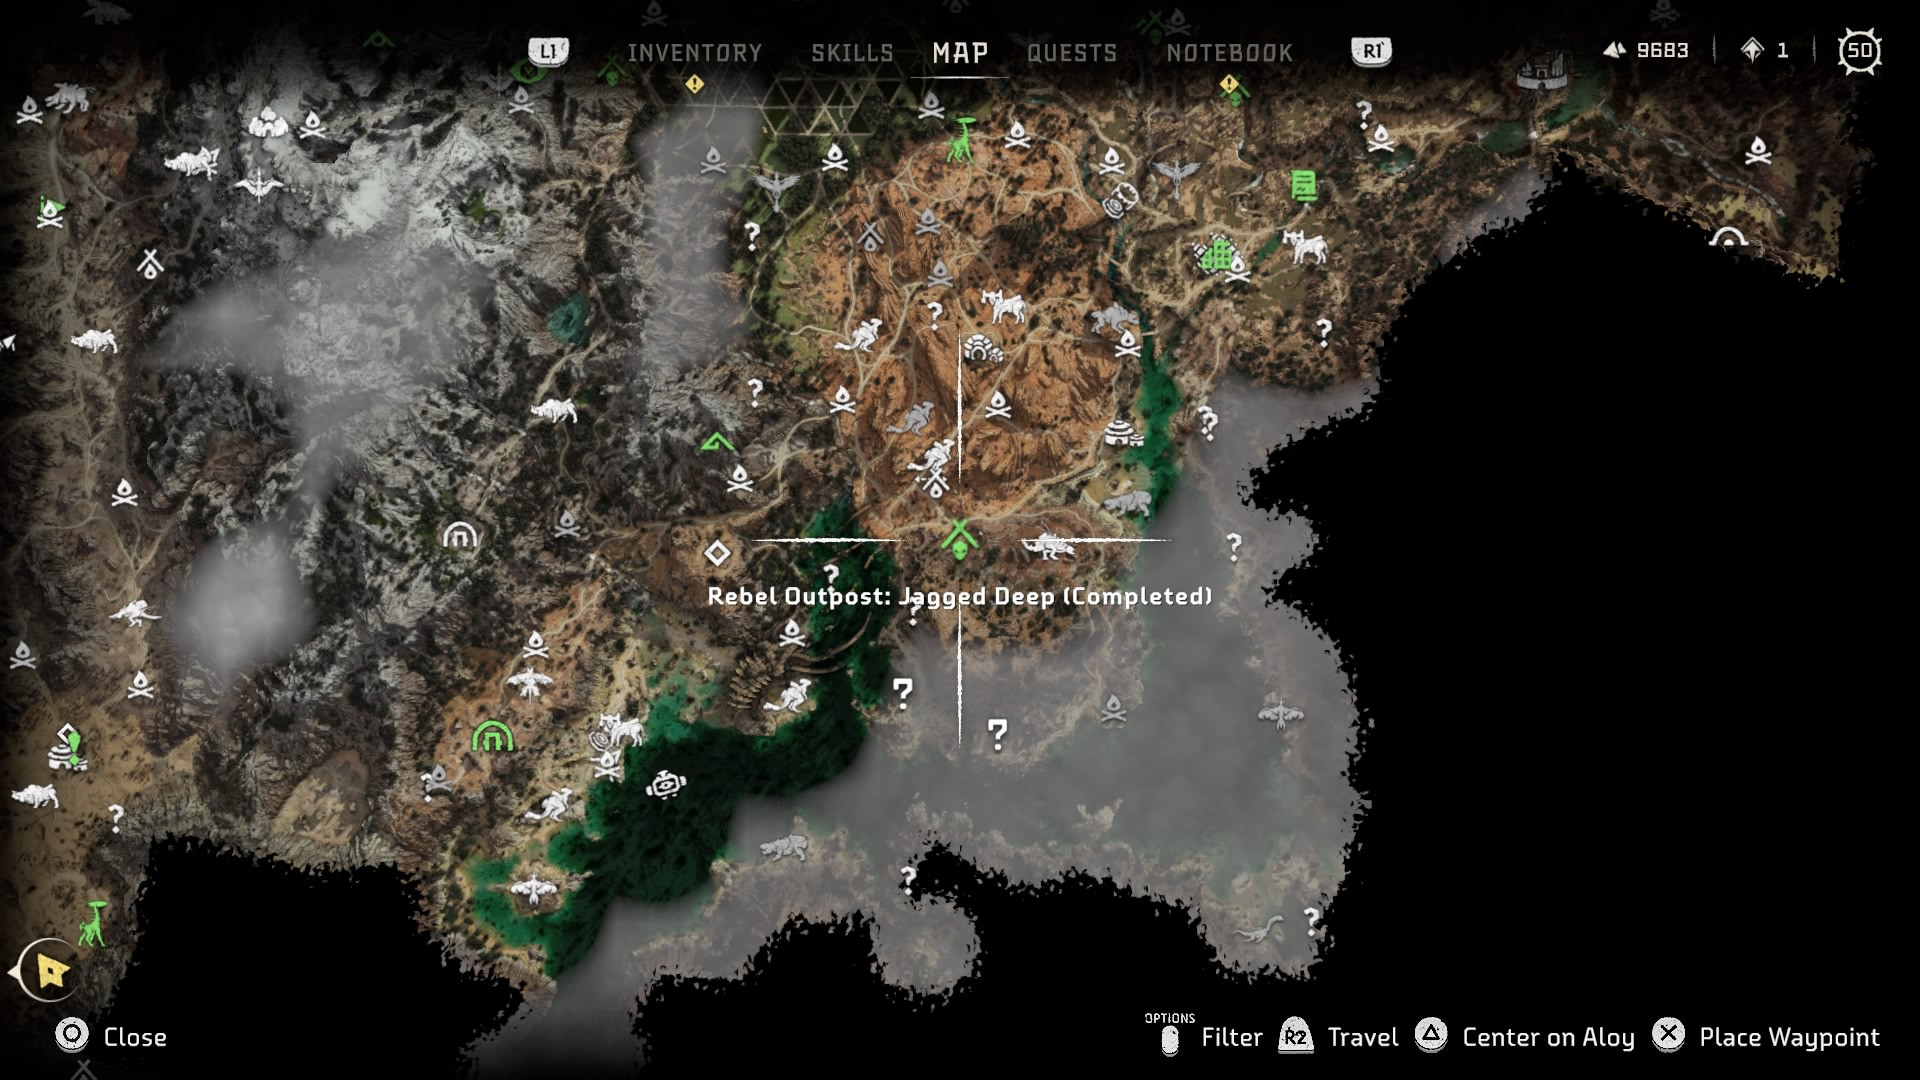
Find below the map location of each
Rebel Outpost and information regarding the
Leader location and any other objective or valuable piece of info to complete it easily. Click on each
Header link for a Walkthrough of the outpost completion.
|
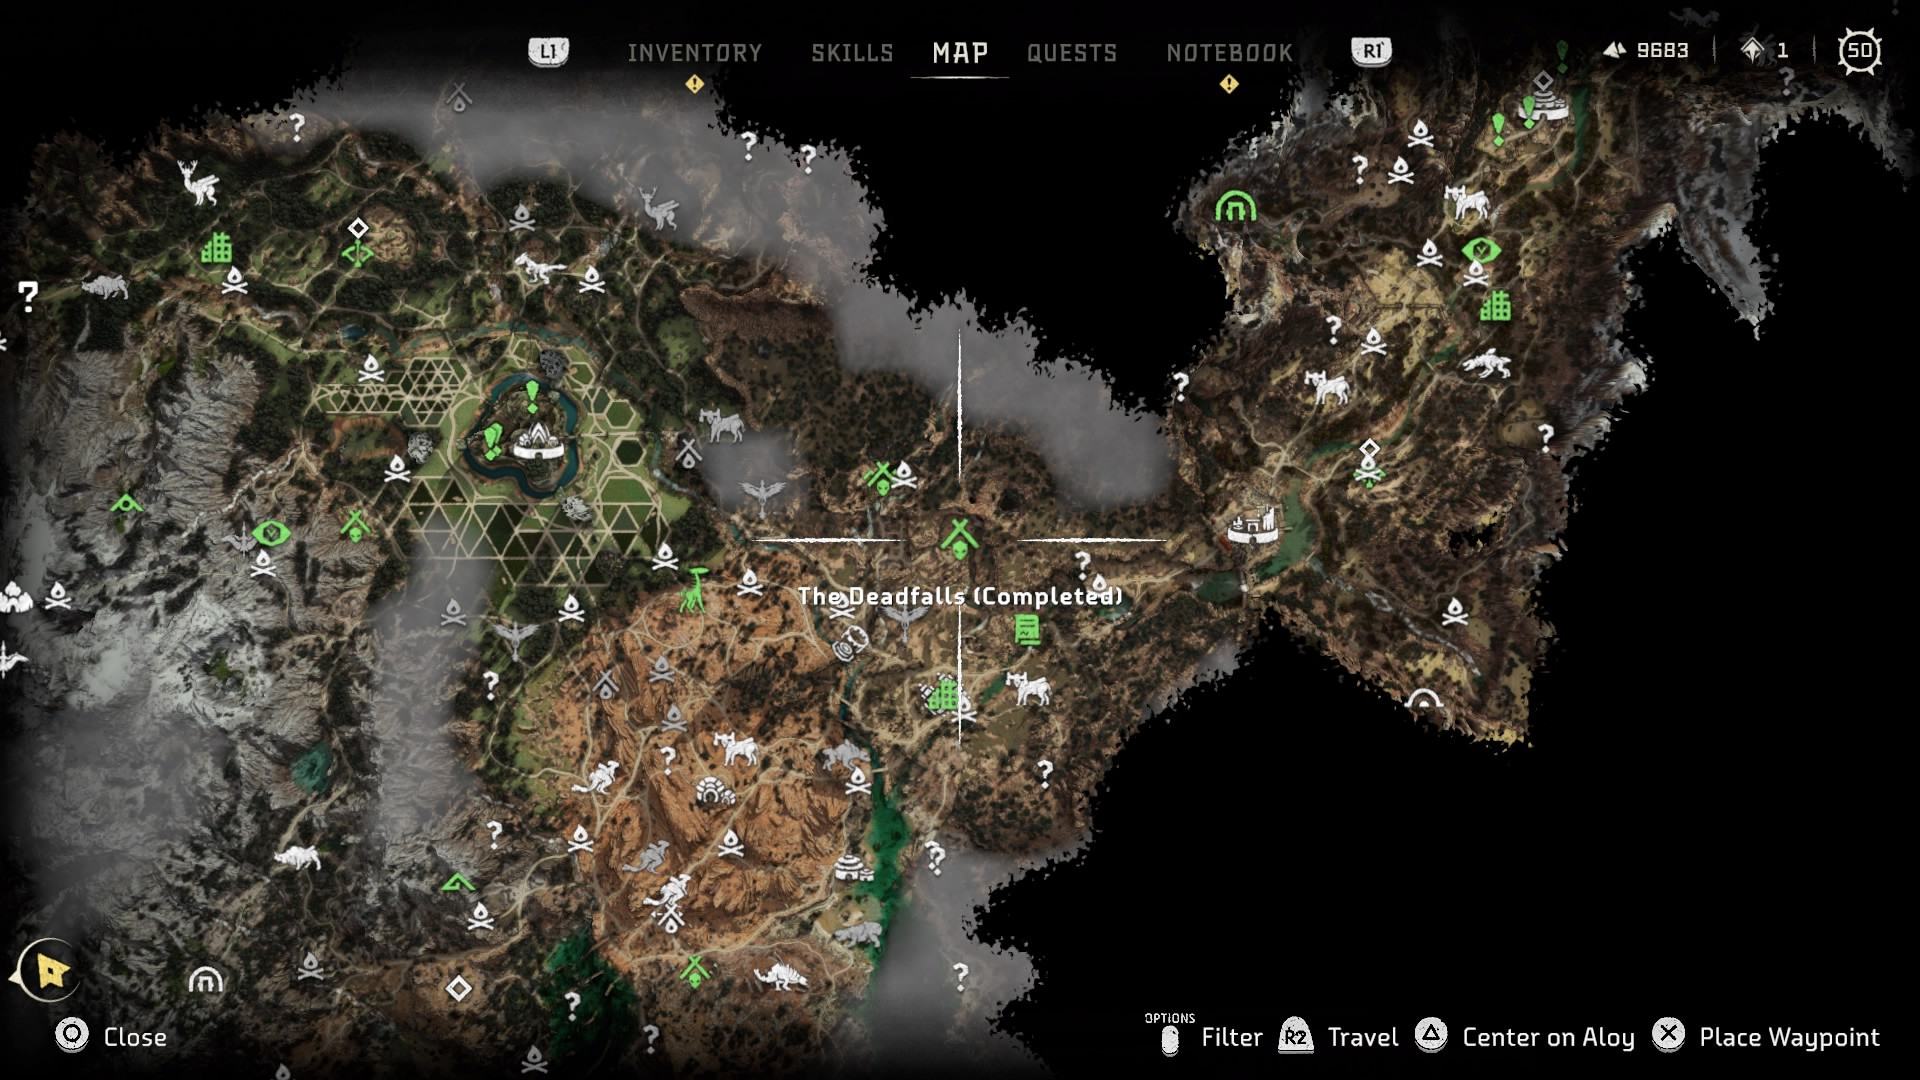
REBEL OUTPOST #01 "THE DEADFALLS"
|
|
| - This one can be completed only during the side quest "The Bristlebacks" that is automatically obtained at Chainscrape during story mission "To the Brink".
- It can only be completed later on, after the story mission "The Embassy" once that part of the map becomes available.
- During the side quest, you only need to follow the quest directions, this will not involve a fight against humans, but machines.
|
|
|
|
| Location - Approx 250m south of Stone's Echo Recommended Level - 10 Leader Location - By the Campfire in the center of the outpost. Chest Location - Inside the tent a few meters south of the Campfire
|
|
|
|
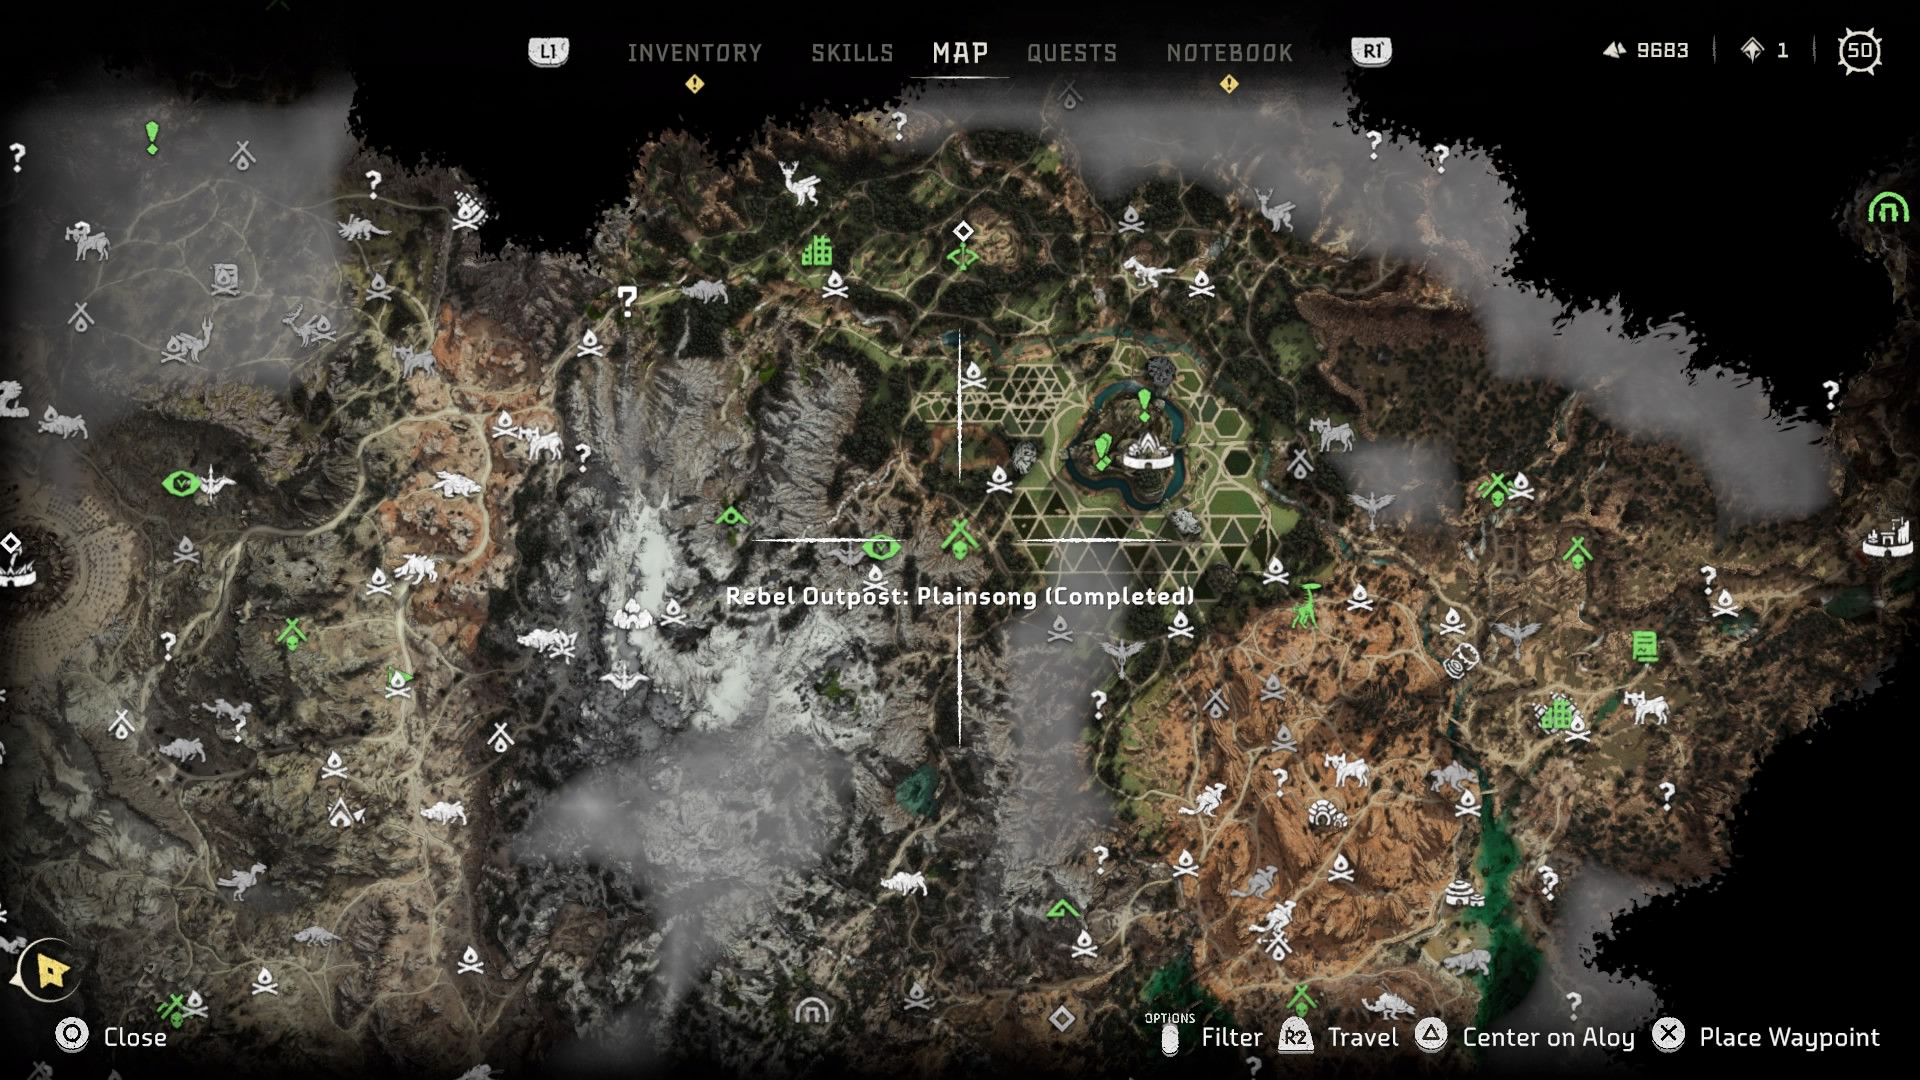
| - Location - Approx 300m east of Plainsong
- Recommended Level - 10
- Leader Location - Circling around the camp.
- Chest Location - No chest in this Outpost
|
|
|
|
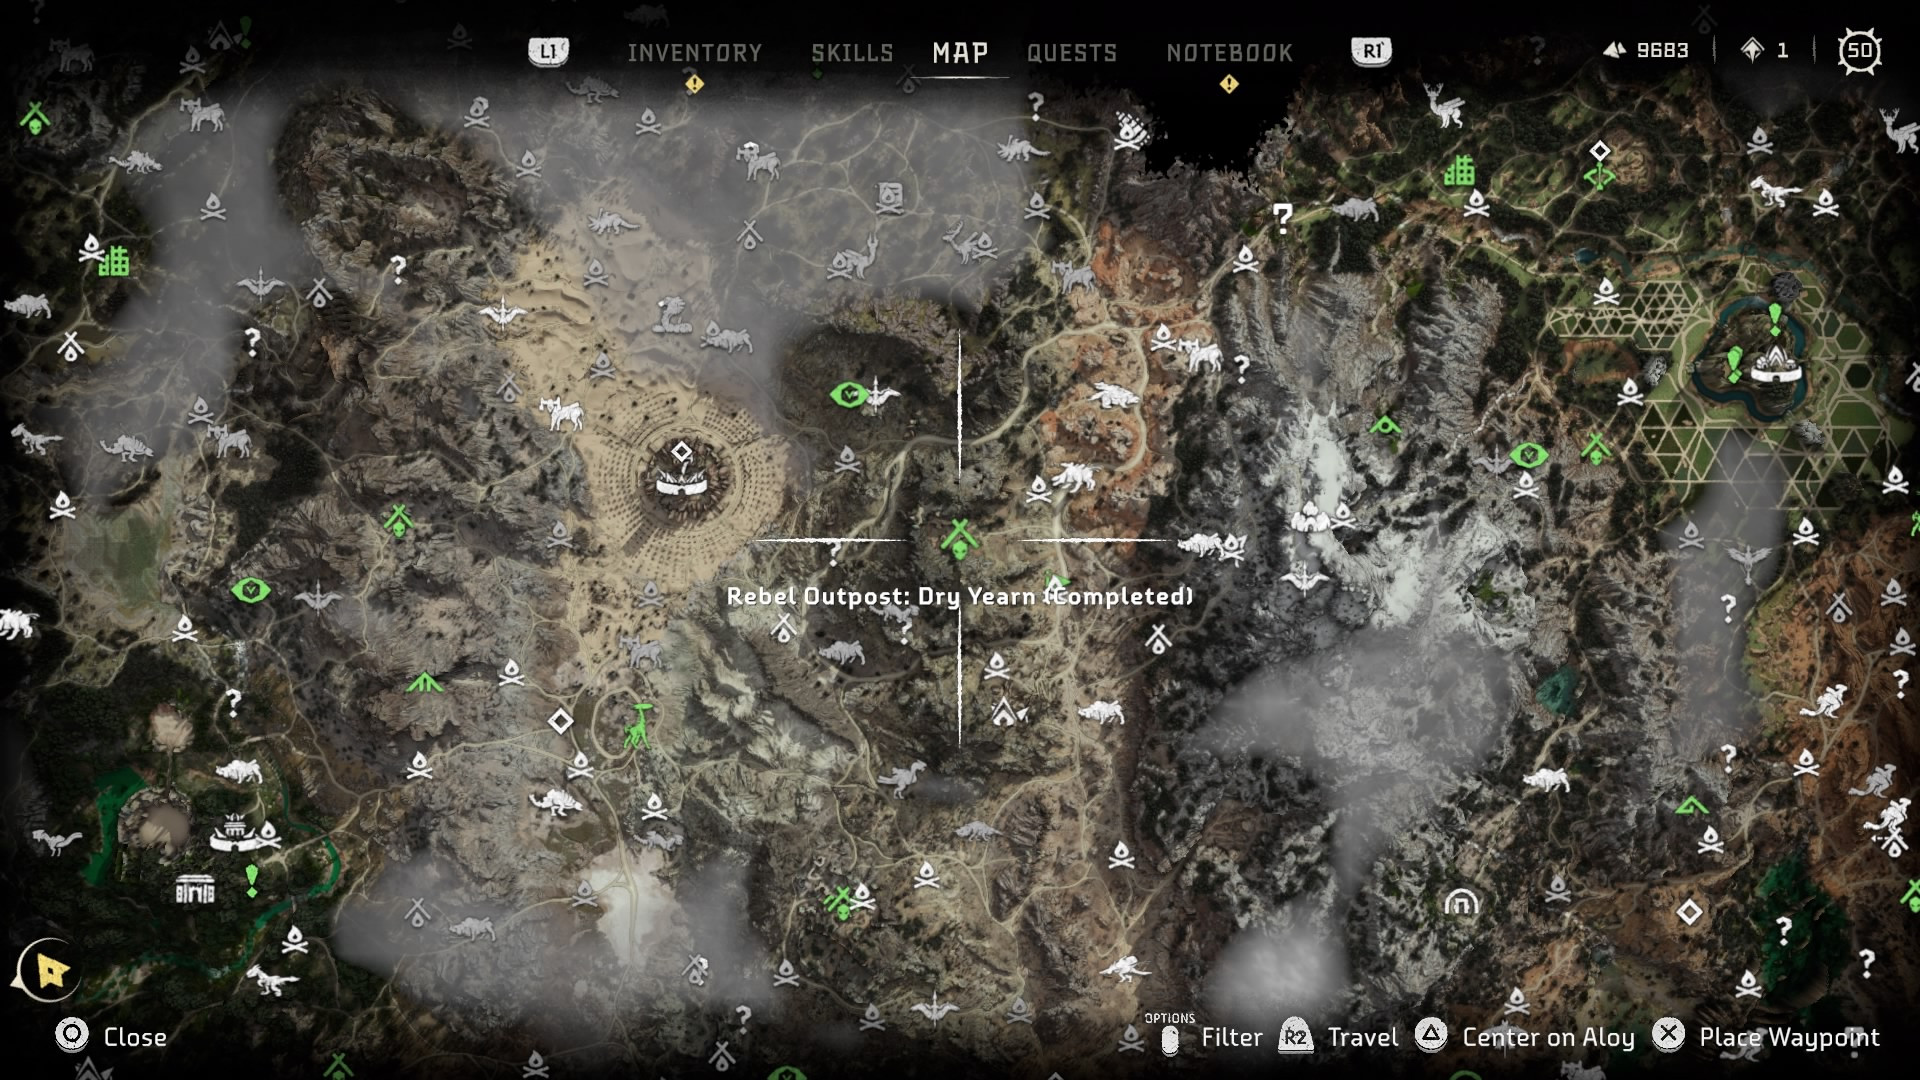
| - Location - Approx 150m north of Arrowhead
- Recommended Level - 15
- Leader Location - On the Watchtower at the center of the outpost
- Chest Location - No chest in this Outpost
|
|
|
|
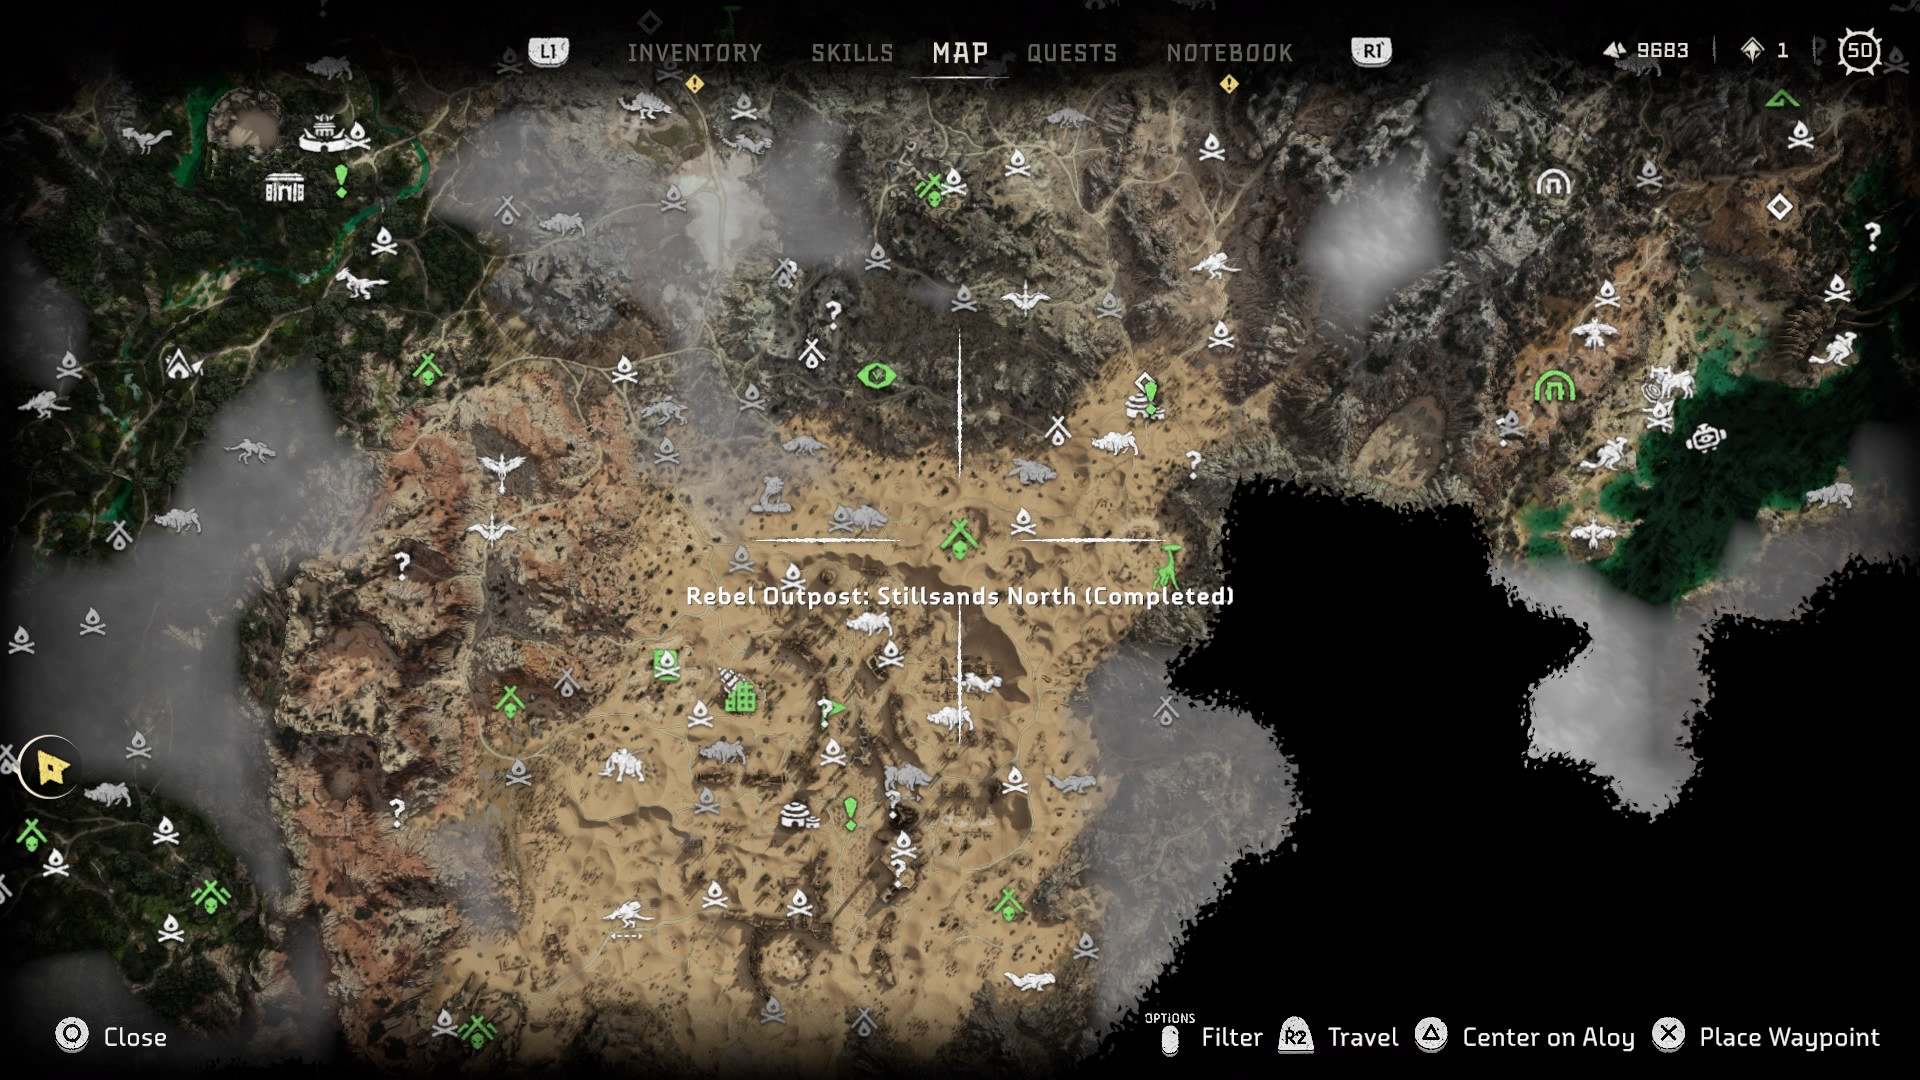
| - Location - Approx 300m southwest of Camp Nowhere
- Recommended Level - 25
- Leader Location - Circling around the west side of the outpost
- Chest Location - No chest in this Outpost
|
|
|
|
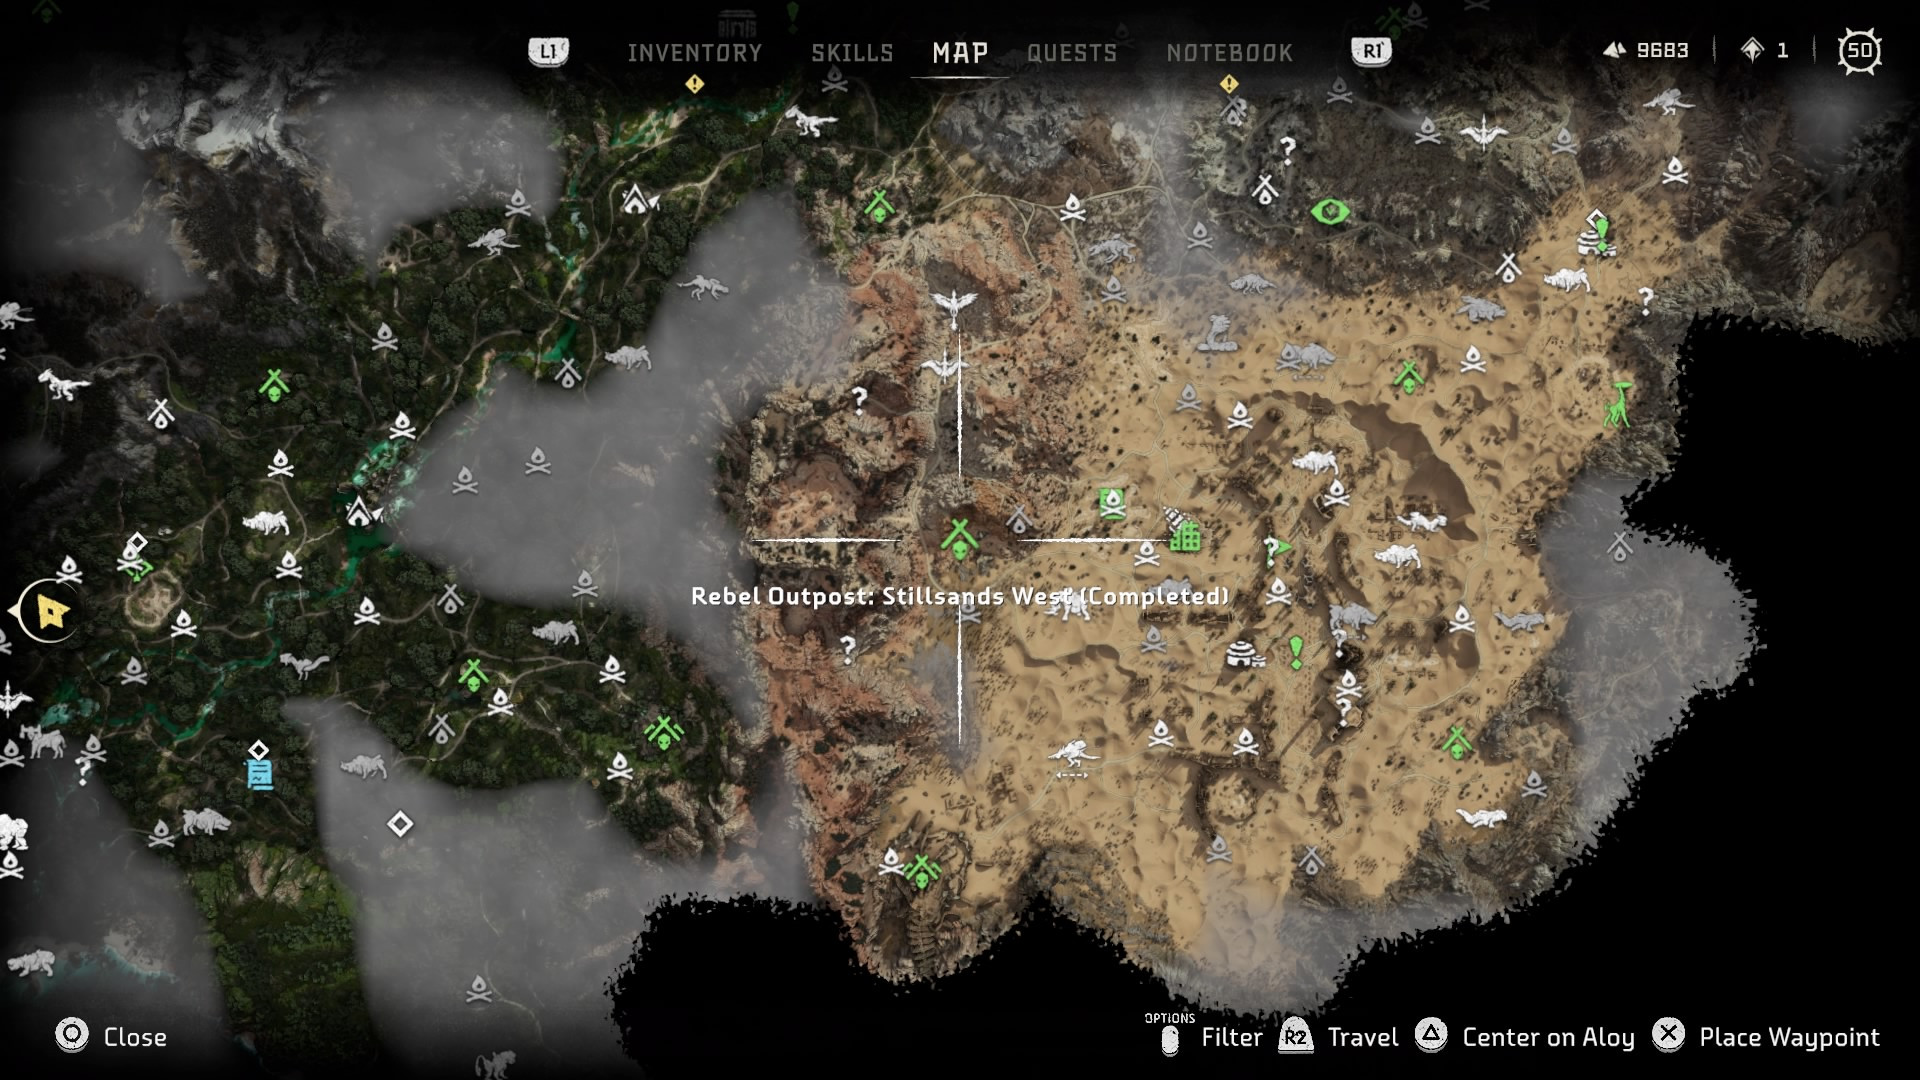
| - Location - Approx 400m northwest of Hidden Ember
- Recommended Level - 25
- Leader Location - At the wooden structure platform northwest of the outpost
- Chest Location - No chest in this Outpost
|
|
|
|
| - Location - Approx 300m southeast of Hidden Ember
- Recommended Level - 25
- Leader Location - Circling around the central Campfire
- Chest Location - At a wooden structure north of the outpost.
|
|
|
|
| - Location - Approx 500m north of the Base
- Recommended Level - 15
- Leader Location - Patrolling the main road between the gate and the metal rubbish in the opposite direction
- Chest Location - No chest in this Outpost.
- This Outpost is better completed after establishing your Base during the story mission "The Eye of the Earth"
|
|
|
|
| - Location - Approx 400m northeast of Sheerside Climb
- Recommended Level - 25
- Leader Location - Between the Wooden Structure and the remains of the old tanks and machines north of the outpost.
- Chest Location - At the wooden structure north east of the outpost
|
|
|
|
| - Location - Approx 150m west of Scalding Spear
- Recommended Level - 25
- Leader Location - To the north of the camp.
- Chest Location - No chest in this Outpost.
|
|
|
|
| - Location - Approx 300m south east of Memorial Grove
- Recommended Level - 30
- Leader Location - Patrolling the north and west area of the outpost
- Chest Location - At the top of the metal structure east in the outpost
- This camp can be done either during the "Blood for Blood" side quest or any other time you prefer (recommended during the side quest).
|
|
|
|
| - Location - Approx 150m northwest of Fall's Edge
- Recommended Level - 35
- Leader Location - Patrolling the outpost.
- Chest Location - No chest in this Outpost.
|
|
|
|
| - Location - Approx 300m southeast of Fall's Edge
- Recommended Level - 30
- Leader Location - Patrolling the lower area of the outpost
- Chest Location - No chest in this Outpost.
|
|
|
|
| - Location - Approx 150m southeast of Thornmarsh
- Recommended Level - 40
- Leader Location - On the platform at the center of the outpost
- Chest Location - Below the above mentioned platform, by the ladder
|
|
|
|
| - Location - Approx 250m south of Cliffwatch
- Recommended Level - 35
- Leader Location - Around the center of the outpost.
- Chest Location - No chest in this Outpost.
|
|
|
|
| - Location - Approx 300m west of The Bullwark
- Recommended Level - 40
- Leader Location - At the lower part of the outpost.
- Chest Location - No chest in this Outpost.
|
|
|
|
| - Location - Approx 150m north of Tide's Reach
- Recommended Level - 40
- Leader Location - Patrolling the center of the outpost initially, it varies one the fight begins, since the outpost will be attacked by machines soon after you approach it.
- Chest Location - No chest in this Outpost.
|
|
Rebel Outposts are very similar to Rebel Camps (see
 Defeat Asera
 for more information), but are much smaller. Unlike the Camps, all you have to do is clear the enemies including the leader, loot the leader's body, and leave the area. There are
17 Outposts around the map, but you only need to complete 4 for the Platinum.
One thing to note is that as that you loot 'Tags' from these Outposts. You won't be able to do anything with the tags you recover at first, but once you reach
The Grove as part of
Recovering AETHER, you'll be able to access the
Arena, located around the center of the map, north of The Grove, in a place called "
The Maw of the Arena." You can turn in the tags here in exchange for a few resources, to the same woman who you can purchase Arena gear from. (See
Completed Arena Challenge Set for more information on the Arena and its rewards.)
Rebel Outposts are marked with a
blue skull icon on the map.